
new york cheesecake recipe

The Best new york cheesecake recipe
What I love most about this recipe is how versatile it is. It’s perfect for holidays, birthdays, or even just a Tuesday night when you want something a little indulgent. And while it’s definitely a dessert, it’s not as heavy as you might think. The cream cheese gives it a good dose of protein, and the eggs add some healthy fats, so it’s not just empty calories. Plus, you can easily make it lighter by using low-fat cream cheese or Greek yogurt if you’re watching your intake. My kids don’t even notice the difference, and that’s a win in my book.
I also appreciate how forgiving this recipe is. Even if you overmix the batter or bake it a few minutes too long, it still turns out delicious. And let’s be honest—any dessert that can survive my occasional kitchen mishaps is a keeper. Whether you’re serving it plain, with fresh berries, or a drizzle of caramel, it’s always a crowd-pleaser. If you haven’t tried making it at home yet, you’re missing out—it’s one of those classics that never disappoints.
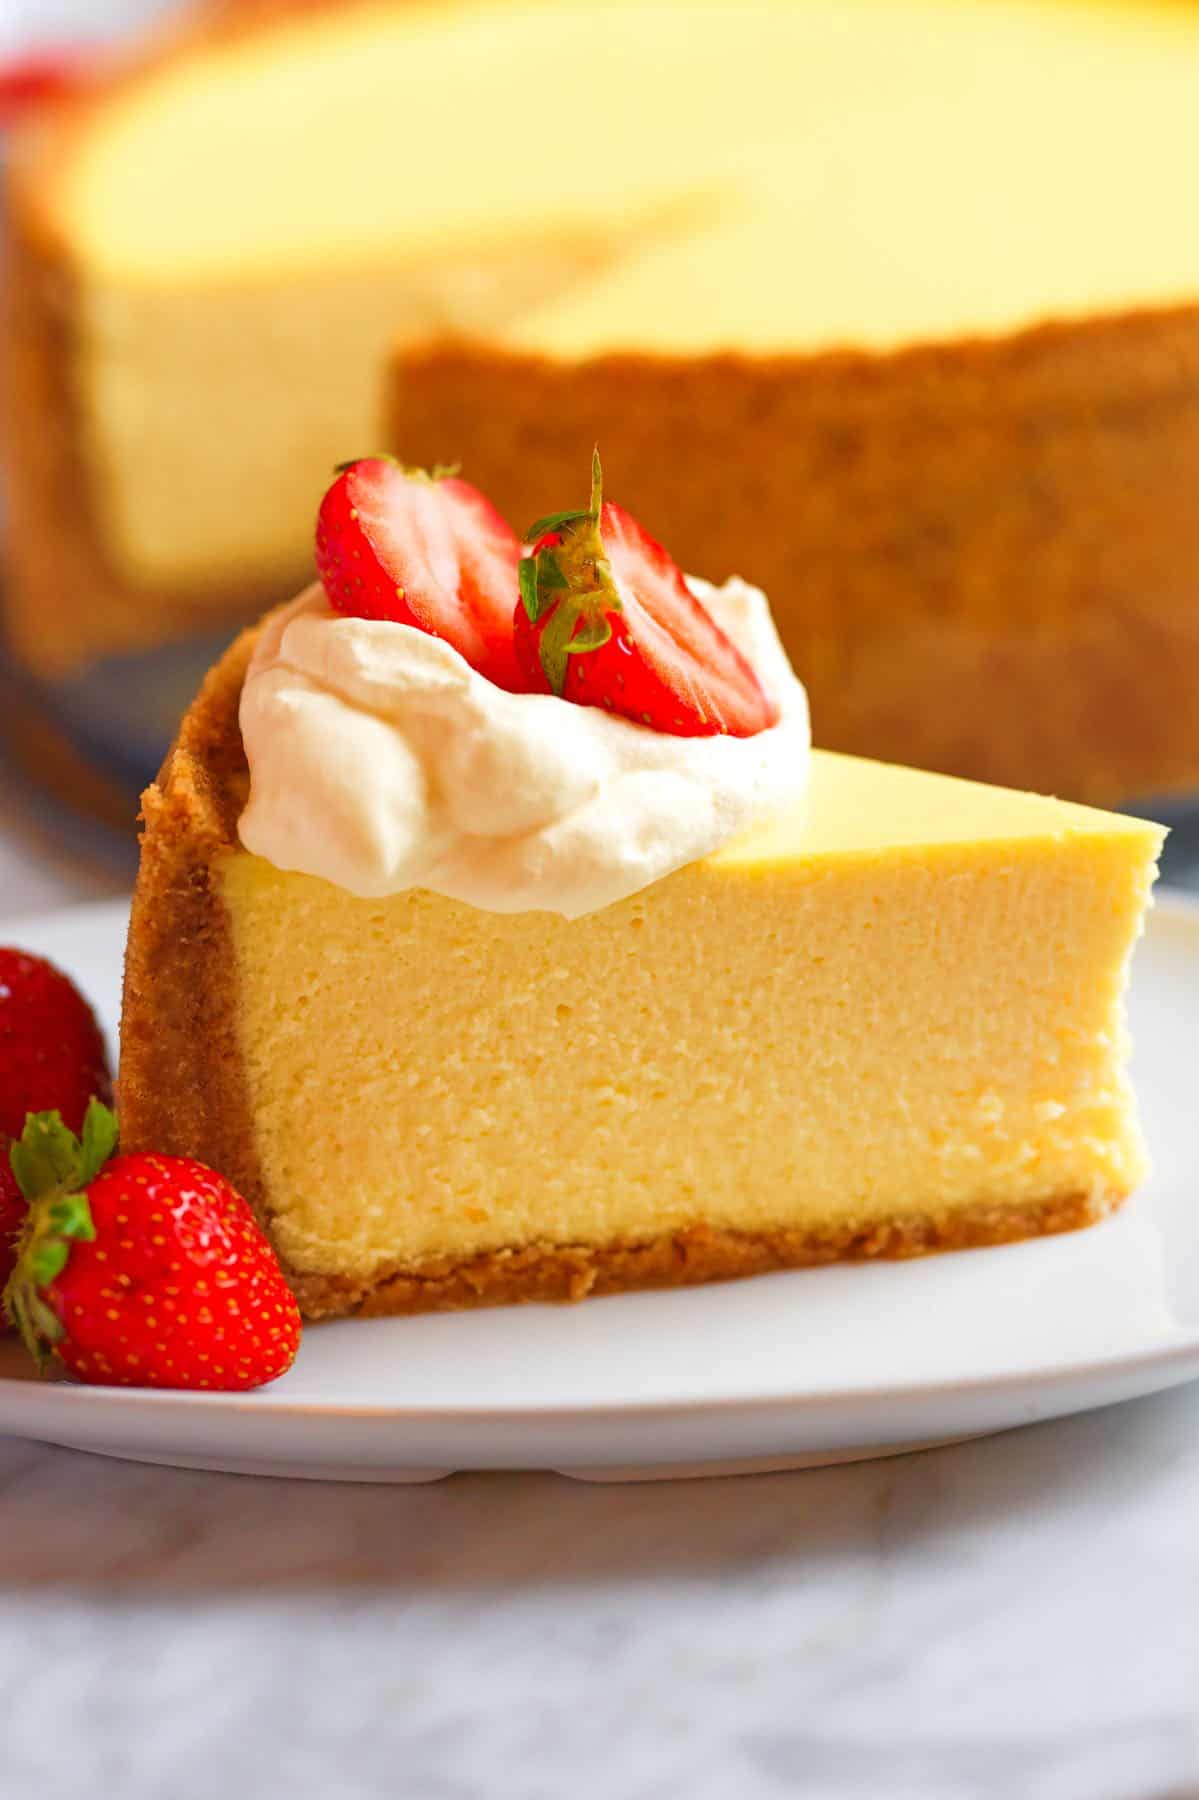
Classic New York Cheesecake
A rich, creamy, and dense cheesecake with a buttery graham cracker crust, topped with a smooth sour cream layer. This iconic dessert is a must-try for any cheesecake lover.
🥘Ingredients
- 1 ½ cups graham cracker crumbs (about 10 whole crackers)
- ⅓ cup unsalted butter, melted
- ¼ cup granulated sugar
- ¼ tsp salt
- 4 (8 oz) packages cream cheese, softened at room temperature
- 1 ¼ cups granulated sugar
- 1 cup sour cream (full-fat)
- 2 tsp vanilla extract
- 2 tsp fresh lemon juice
- 3 large eggs, room temperature
- ¼ cup all-purpose flour
- 1 cup sour cream (full-fat)
- 2 tbsp granulated sugar
- 1 tsp vanilla extract
👨🍳Directions
-
1
Preheat your oven to 325°F (163°C). Wrap the bottom and sides of a 9-inch springform pan tightly with aluminum foil to prevent water from seeping in during the water bath. -
2
Make the crust: In a medium bowl, mix graham cracker crumbs, melted butter, sugar, and salt until combined. Press the mixture firmly into the bottom of the prepared springform pan. Use a glass or measuring cup to smooth and compact the crust. Bake for 10 minutes, then set aside to cool while you prepare the filling. -
3
Make the filling: In a large bowl, beat the cream cheese with an electric mixer on medium speed until smooth and creamy, about 2-3 minutes. Scrape down the sides of the bowl as needed. -
4
Add the sugar and mix until fully combined, about 1-2 minutes. Add the sour cream, vanilla extract, and lemon juice, mixing until smooth. -
5
Add the eggs one at a time, mixing just until each egg is incorporated. Be careful not to overmix. Gently fold in the flour until just combined. -
6
Pour the filling over the cooled crust. Smooth the top with a spatula. Place the springform pan into a large roasting pan and fill the roasting pan with hot water until it reaches about halfway up the sides of the springform pan (this creates a water bath). -
7
Bake for 60-70 minutes, or until the edges are set but the center still has a slight jiggle. Turn off the oven, crack the door open, and let the cheesecake cool inside the oven for 1 hour to prevent cracking. -
8
Make the topping: In a small bowl, mix the sour cream, sugar, and vanilla extract until smooth. Spread the topping evenly over the cooled cheesecake. Return the cheesecake to the oven (still off) for 10 minutes to set the topping. -
9
Remove the cheesecake from the oven and let it cool completely at room temperature, about 1-2 hours. Once cooled, refrigerate the cheesecake for at least 4 hours, or preferably overnight, to set completely. -
10
Before serving, run a thin knife around the edge of the pan to loosen the cheesecake, then release the springform pan. Slice and enjoy!
🔧Equipment
- 9-inch springform pan
- Mixing bowls (large and medium)
- Electric mixer (hand or stand)
- Rubber spatula
- Aluminum foil
- Roasting pan (for water bath)
- Oven
- Cooling rack
📊Nutrition Facts (per serving)
📝Notes
Watch Video Of How Classic New York Cheesecake Works
❓ Frequently Asked Questions About New York Cheesecake
1. What makes New York cheesecake different from other cheesecakes?
New York cheesecake is known for its rich, dense, and creamy texture, which comes from using a higher ratio of cream cheese to other ingredients. It also typically includes sour cream or heavy cream for extra smoothness and a slightly tangy flavor. Unlike lighter cheesecakes, it has a firm yet velvety consistency and is often baked without a water bath, resulting in a slightly golden top.
2. Can I use low-fat cream cheese for this recipe?
While you can use low-fat cream cheese, it may affect the texture and flavor of the cheesecake. Full-fat cream cheese (like Philadelphia) is recommended for the creamiest, richest result. Low-fat versions contain more water, which can make the cheesecake denser or even cause cracking. If you must use low-fat, consider adding an extra egg yolk or a bit more sour cream to compensate.
3. Why did my cheesecake crack, and how can I prevent it?
Cracking usually happens due to overmixing the batter, baking at too high a temperature, or sudden temperature changes. To prevent it:
– Mix the batter just until smooth (avoid overbeating).
– Bake at a moderate temperature (around 325°F/160°C) and avoid opening the oven door too early.
– Let the cheesecake cool gradually in the oven with the door slightly ajar for about an hour before transferring to a wire rack.
– Use a water bath (bain-marie) if your recipe calls for it, as it helps regulate temperature.
4. Do I need to use a springform pan for New York cheesecake?
Yes, a springform pan is highly recommended because it allows you to easily remove the cheesecake without damaging it. The sides detach, making it simple to release the cake after cooling. If you don’t have one, you can line a regular cake pan with parchment paper, but a springform pan is the best tool for the job.
5. How long should I chill the cheesecake before serving?
For the best texture, chill the cheesecake in the refrigerator for at least 6–8 hours, but overnight (12+ hours) is ideal. This allows the flavors to meld and the filling to set properly. If you’re in a hurry, you can chill it in the freezer for 2–3 hours, but refrigeration is preferred for even setting.

