
traditional pierogi dough recipe

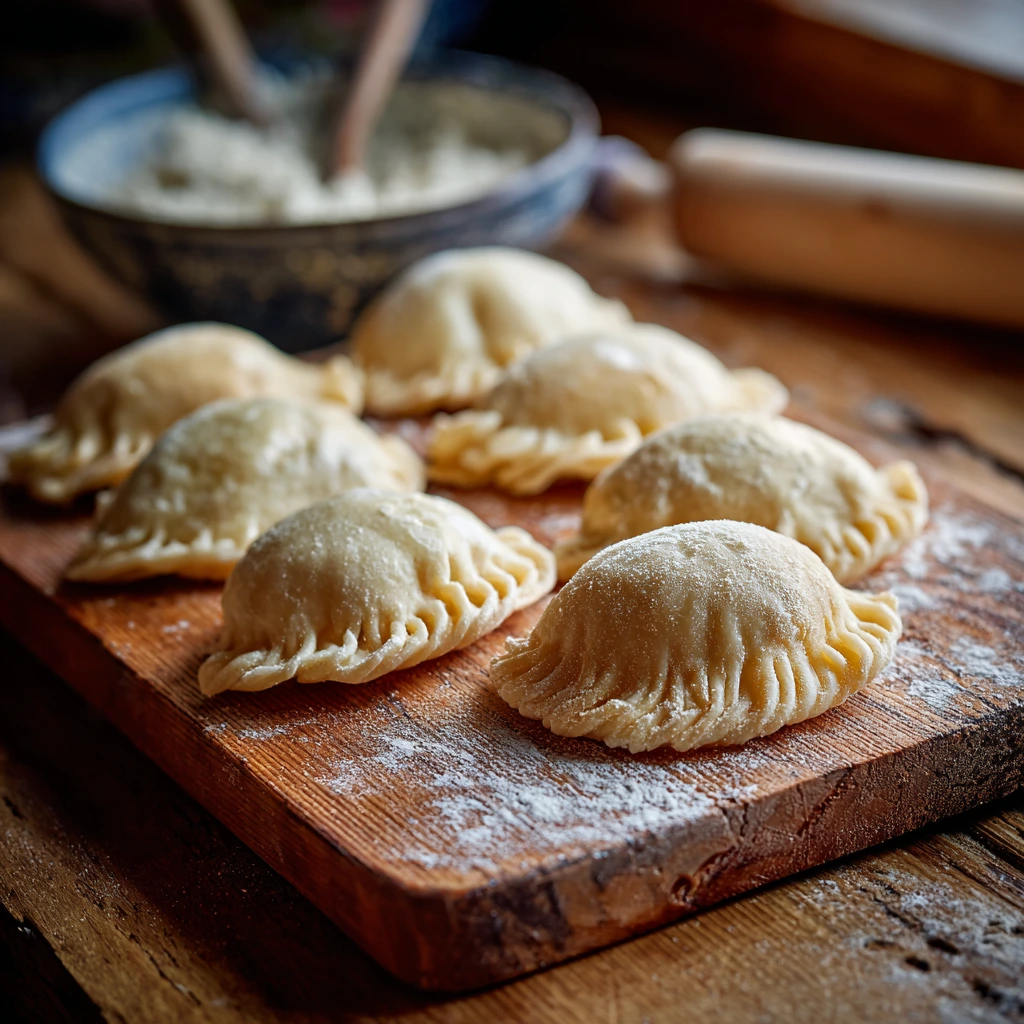
The Best traditional pierogi dough recipe
What I love most about this recipe is how versatile it is. You can boil them, pan-fry them for extra crispiness, or even freeze a batch for later. Plus, making them from scratch means you control the ingredients—no weird preservatives or shortcuts. The dough itself is light but sturdy enough to hold up to hearty fillings, and it’s a great way to sneak in some extra protein with the eggs and sour cream. They’re filling without being heavy, and honestly, there’s nothing better than pulling a fresh batch out of the pot and watching everyone dig in. If you haven’t tried making pierogi dough at home, it’s worth the little bit of effort—trust me, your family will thank you.
Traditional Pierogi Dough
A classic Polish dumpling dough that’s soft, pliable, and perfect for filling with savory or sweet ingredients. This recipe yields tender pierogi that pair beautifully with butter, onions, or sour cream.
🥘Ingredients
- 2 cups all-purpose flour (plus extra for dusting)
- 1/2 tsp salt
- 1 large egg, room temperature
- 1/2 cup warm water (adjust as needed)
- 2 tbsp sour cream or plain yogurt
- 1 tbsp unsalted butter, melted and cooled
👨🍳Directions
-
1
In a large mixing bowl, combine the flour and salt. Make a well in the center of the flour mixture. -
2
Add the egg, sour cream, and melted butter to the well. Gradually mix with a fork or your fingers, incorporating the flour from the edges. -
3
Slowly add the warm water, 1 tablespoon at a time, mixing until a shaggy dough forms. You may not need all the water. -
4
Turn the dough onto a lightly floured surface and knead for 5-7 minutes until smooth and elastic. The dough should be soft but not sticky. Add a little more flour if needed. -
5
Wrap the dough in plastic wrap and let it rest at room temperature for 20-30 minutes. This relaxes the gluten and makes rolling easier. -
6
Divide the dough into 2 equal portions. On a lightly floured surface, roll one portion into a thin sheet (about 1/8-inch thick). -
7
Use a 3-inch round cutter (or a glass) to cut circles from the dough. Gather the scraps, re-roll, and cut more circles until all the dough is used. -
8
Fill each dough circle with 1-2 teaspoons of your desired filling (e.g., mashed potatoes, cheese, sauerkraut, or fruit). Fold the dough over the filling to form a half-moon shape and press the edges firmly to seal. Crimp the edges with your fingers or a fork to ensure they don’t open during cooking. -
9
Bring a large pot of salted water to a gentle boil. Drop the pierogi in batches, stirring gently to prevent sticking. Cook for 3-5 minutes, or until they float to the surface. Remove with a slotted spoon and drain. -
10
Optional: For crispier pierogi, heat 1-2 tablespoons of butter in a skillet over medium heat and pan-fry the boiled pierogi until golden brown on both sides. -
11
Serve hot with melted butter, caramelized onions, sour cream, or your favorite toppings.
🔧Equipment
- Large mixing bowl
- Rolling pin
- Pastry cutter or knife
- Dough scraper (optional)
- Pierogi cutter or 3-inch round cookie cutter
- Slotted spoon
- Large pot for boiling
- Skillet (for frying, optional)
📊Nutrition Facts (per serving)
📝Notes
Watch Video Of How Traditional Pierogi Dough Works
❓ Frequently Asked Questions About Pierogi Dough
1. What type of flour is best for traditional pierogi dough?
The best flour for traditional pierogi dough is all-purpose flour. It provides the right balance of protein and gluten to create a tender yet sturdy dough that holds its shape during boiling and frying. Some recipes may call for a mix of all-purpose and cake flour for extra softness, but all-purpose alone works perfectly for most home cooks.
2. Why is my pierogi dough too sticky or too dry?
Pierogi dough can become sticky if too much liquid is added or if the dough isn’t rested long enough. If it’s too dry, you may have used too much flour or not enough liquid. The ideal dough should be smooth, elastic, and slightly tacky but not sticky. If it’s too sticky, knead in a little more flour; if too dry, add a teaspoon of water at a time until it comes together.
3. How long should I rest the pierogi dough before rolling it out?
Resting the dough is crucial for relaxation of the gluten, making it easier to roll out and shape. Let the dough rest for at least 20–30 minutes at room temperature, covered with a clean kitchen towel or plastic wrap. For even better results, some recipes recommend resting it in the refrigerator for up to an hour.
4. Can I make pierogi dough ahead of time?
Yes! You can prepare pierogi dough ahead of time and store it in the refrigerator for up to 24 hours. Wrap it tightly in plastic wrap to prevent drying. For longer storage, freeze the dough (wrapped well) for up to 1 month. Thaw it in the refrigerator overnight before using, and let it come to room temperature before rolling.
5. What’s the best way to seal pierogi to prevent them from opening while boiling?
To ensure a tight seal, press the edges firmly with your fingers or use the tines of a fork to crimp them. Moisten the edges slightly with water or a beaten egg before sealing if the dough feels dry. Avoid overfilling the pierogi, as this can cause them to burst. Boiling them in batches in gently simmering (not boiling) water also helps prevent splitting.


