
cherry jelly recipe

The Best cherry jelly recipe
I love that cherry jelly is so versatile. It’s perfect for breakfast, lunch, or even a little something sweet after dinner. You can use it on pancakes, waffles, or even as a topping for yogurt if you’re feeling fancy. And let’s not forget the little occasions—birthdays, holidays, or just a cozy night in with the family. It’s that kind of recipe that doesn’t need a fancy presentation; it’s all about the taste. Plus, it’s got real fruit in it, which means more vitamins and less of that processed sugar you find in store-bought jellies. My kids don’t even notice how healthy it is—they just think it’s the best thing ever. And honestly? That’s the best part.
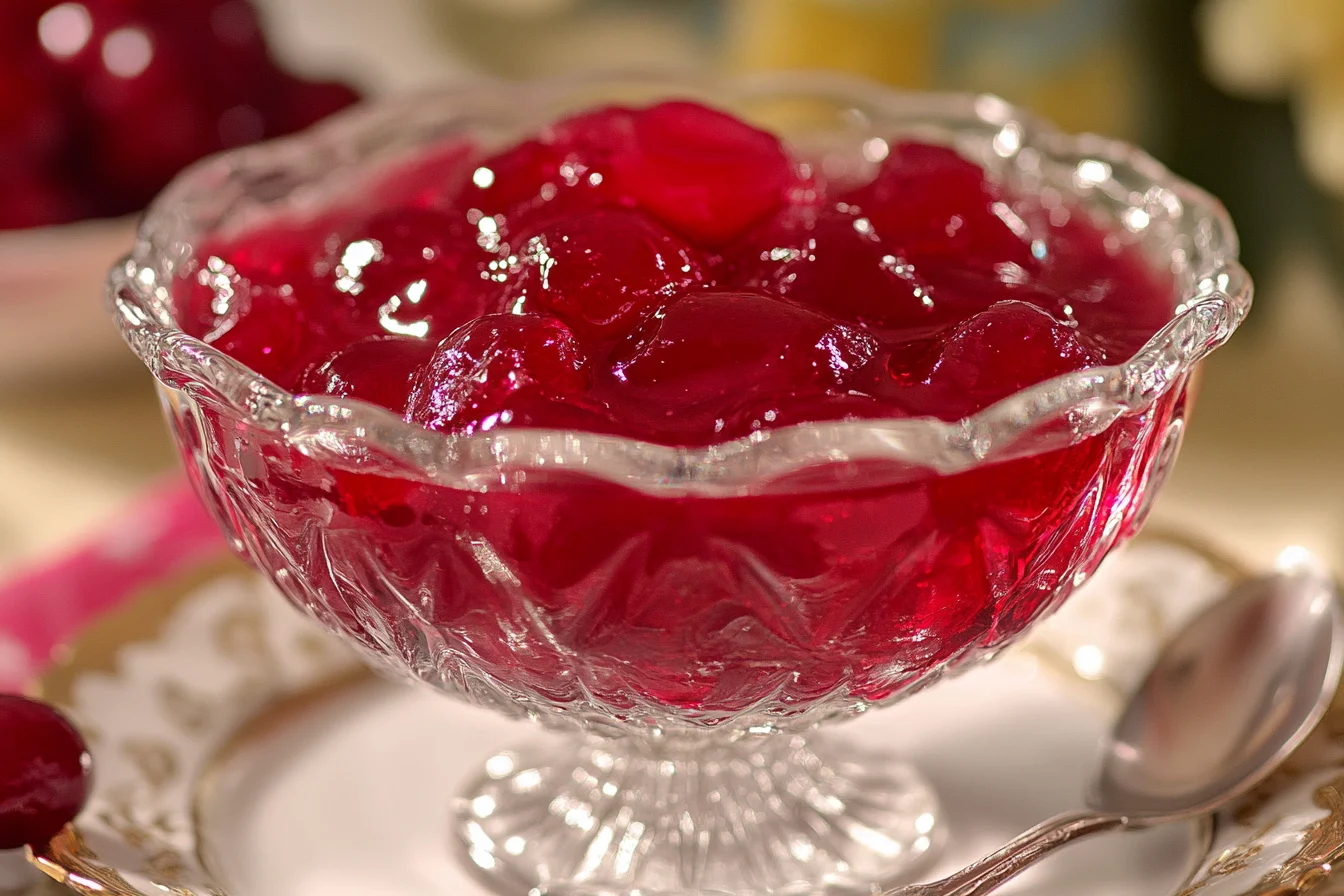
Classic Cherry Jelly
A simple and sweet homemade cherry jelly that captures the natural flavor of fresh cherries. Perfect for topping toast, pastries, or pairing with cheese.
🥘Ingredients
- 2 cups pitted fresh cherries (or 1 can cherry pie filling)
- 1 cup water
- 1 cup sugar
- 1 tsp lemon juice
- 1 cinnamon stick (optional)
- 1 cup pitted fresh cherries (or ½ can cherry pie filling)
- ½ cup water
- ½ cup sugar
- ½ tsp lemon juice
👨🍳Directions
-
1
In a saucepan, combine pitted cherries, water, and sugar for the cherry sauce. Bring to a boil, then reduce heat and simmer for 15–20 minutes until thickened. -
2
Strain the cherry sauce through a fine-mesh strainer to remove seeds and pulp, pressing gently to extract maximum juice. -
3
In a separate saucepan, combine pitted cherries, water, and sugar for the jelly base. Simmer for 10–15 minutes until slightly thickened. -
4
Strain the jelly base similarly, pressing to extract juice. Discard the pulp. -
5
Mix the strained cherry sauce and jelly base together in a large bowl. Stir in lemon juice and cinnamon stick (if using). -
6
Pour the mixture into sterilized jars, leaving ¼-inch headspace. Seal tightly and process in a water bath for 10 minutes to ensure sterility.
🔧Equipment
- Large saucepan
- Fine-mesh strainer
- Jelly jar or sterilized jars
- Lid
📊Nutrition Facts (per serving)
📝Notes
Tips
- Use fresh cherries for the best flavor. If using canned cherries, ensure they are in syrup.
- Adjust sugar to taste—add more if the jelly is too thin.
- For a thicker jelly, simmer longer after straining.
- Store in the fridge for up to 3 months or freeze for longer storage.
Variations
- Add a pinch of vanilla extract for extra flavor.
- Use raspberry or blackberry juice as a substitute for cherry juice.
Watch Video Of How Classic Cherry Jelly Works
❓ Frequently Asked Questions About Cherry Jelly
1. What ingredients do I need to make homemade cherry jelly?
To make classic cherry jelly, you’ll need fresh or frozen cherries (about 2 lbs / 900g), white grape juice (or water), granulated sugar (about 3 lbs / 1.4 kg for a standard recipe), lemon juice (about 2 tbsp), and pectin (1 cup or 10 oz / 280g for a 4-quart batch). If using canned cherries, ensure they’re pitted and drained.
—
2. How do I prepare the cherries before making the jelly?
First, remove the pits from the cherries by either hand-pitting (if fresh) or using a cherry pitter. Rinse them under cold water to remove any dirt or residue. If using frozen cherries, thaw them slightly before pitting. For extra flavor, you can lightly simmer the cherries with a splash of water or lemon juice for 5–10 minutes before blending.
—
3. Why do I need pectin for cherry jelly, and how much should I use?
Pectin is essential for setting the jelly properly, especially since cherries are a low-pectin fruit. A standard recipe for a 4-quart batch calls for 1 cup (10 oz / 280g) of high-tart pectin (like Ball brand). If your cherries are very tart, you might need slightly less; if they’re sweeter, a little extra pectin can help ensure a firmer set.
—
4. Can I make cherry jelly without pectin, and if so, how?
Yes, but it’s trickier—cherries require pectin to achieve a proper gel. If you skip it, the jelly may be too runny or not set at all. Some alternative methods include:
– Using extra sugar (increase by 1–2 cups) to boost gel strength.
– Adding 1 tbsp lemon juice for extra acidity.
– Simmering the cherries longer to concentrate their natural pectin.
However, results won’t be as consistent as with pectin.
—
5. How do I know if my cherry jelly is set?
To test if your jelly has set, pour a small amount into an ice cube tray or a shallow dish. Let it cool for 1–2 hours. If it holds its shape when gently pressed with a toothpick (the toothpick comes out clean), it’s ready. For a firmer set, let it cool completely before testing. If it’s still too thin, reheat gently and repeat the test.


