
gluten free chocolate chip cookies recipe

The Best gluten free chocolate chip cookies recipe
What really sets these cookies apart is how well they balance flavor and texture without relying on refined flour. The almond flour gives them a subtle nuttiness that pairs perfectly with the rich, gooey chocolate chips, while the flaxseed meal adds a little extra fiber and protein—something my kids love about them because it keeps them full longer than store-bought cookies. I’ve also noticed that they’re gentler on my digestion than other gluten-free options, which is a big deal for me since I’ve had to adjust my eating habits over the years. They’re also great for meal prep; I can bake a big batch on Sunday and have fresh cookies ready for school lunches, snacks, or even just a quiet afternoon with a cup of tea. And honestly? They’re just as good the second day as they were the first. It’s the kind of recipe that feels like a little love in every bite—simple, reliable, and always a hit.
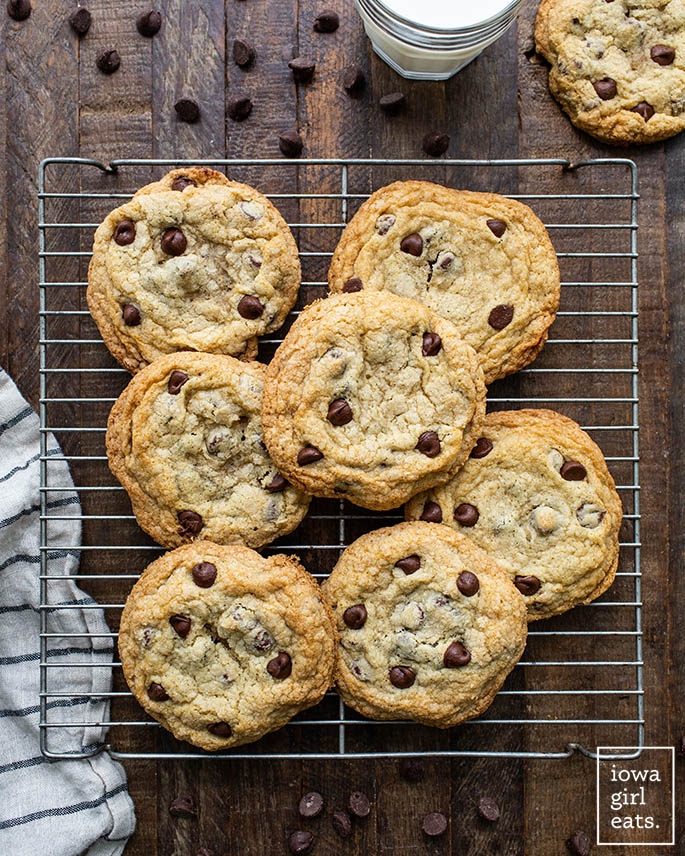
Gluten-Free Chocolate Chip Cookies
Delicious, chewy gluten-free chocolate chip cookies made with almond flour and a touch of coconut sugar for a rich, moist texture. This recipe is a must-try for any occasion.
🥘Ingredients
- 1 ½ cups almond flour
- ½ cup coconut sugar
- ½ cup unsalted butter, softened
- 1 egg
- 1 tsp vanilla extract
- ½ tsp baking soda
- ¼ tsp salt
- ½ cup gluten-free chocolate chips
👨🍳Directions
-
1
Preheat oven to 350°F (175°C). Line a baking sheet with parchment paper. -
2
In a bowl, cream together the softened butter and coconut sugar until light and fluffy. Add the egg and vanilla extract, mixing well. -
3
In a separate bowl, whisk together almond flour, baking soda, and salt. Gradually add this dry mixture to the wet ingredients, mixing until just combined. Fold in the gluten-free chocolate chips. -
4
Drop spoonfuls of dough onto the prepared baking sheet, spacing them about 2 inches apart. Flatten each dough ball slightly with your palm. -
5
Bake in the preheated oven for 10-12 minutes, or until edges are lightly golden. Allow cookies to cool on the baking sheet for 5 minutes before transferring to a wire rack.
🔧Equipment
- Mixing bowl
- Whisk or fork
- Measuring cups and spoons
- Baking sheet
- Parchment paper
- Oven
📊Nutrition Facts (per serving)
📝Notes
- For extra moisture, add 1 tbsp of melted coconut oil or a splash of almond milk.
- Ensure all ingredients are certified gluten-free to avoid cross-contamination.
- Store cookies in an airtight container at room temperature for up to 5 days or freeze for longer storage.
Watch Video Of How Gluten-Free Chocolate Chip Cookies Works
❓ Frequently Asked Questions About Gluten-Free Chocolate Chip Cookies
What is the main difference between this gluten-free chocolate chip cookie recipe and traditional cookies?
In this recipe, the main difference lies in the ingredients used to replace wheat flour. Traditional cookies often rely on all-purpose flour, which contains gluten—a protein that gives baked goods structure. Instead, this recipe uses a blend of gluten-free flours (like almond flour, coconut flour, and tapioca starch) combined with psyllium husk powder to mimic gluten’s binding properties. Additionally, the dough may be slightly denser and require a bit more moisture to achieve a tender, chewy texture similar to classic cookies.
—
Why do I need psyllium husk powder in this recipe?
Psyllium husk powder is a key ingredient here because it acts as a natural gluten substitute. It helps bind the ingredients together, improves texture, and mimics the chewy, elastic quality of gluten in cookies. Without it, gluten-free cookies can crumble or lack cohesion. The psyllium also helps create a softer, more uniform crumb compared to cookies made with just almond or coconut flour alone.
—
Can I substitute any of the flours in this recipe?
While the recipe is designed with a specific blend of flours (almond flour, coconut flour, tapioca starch, and psyllium husk), some substitutions might work with adjustments. For example:
– Almond flour can be swapped for cashew flour or sunflower seed flour (both are nut-free options).
– Coconut flour is absorbent, so if you replace it, you may need to reduce other liquids slightly (e.g., add 1–2 tbsp extra melted butter or oil).
– Tapioca starch can be replaced with arrowroot powder or cornstarch, but the texture might differ slightly.
Avoid replacing psyllium husk entirely, as it’s essential for binding. Always test small batches first, as gluten-free baking can vary widely.
—
How do I ensure my cookies stay soft and chewy after baking?
To keep these cookies soft and chewy:
1. Chill the dough for at least 30 minutes (or up to 2 hours) before baking. This prevents spreading and helps the cookies retain moisture.
2. Use melted butter (not solid) when mixing—it distributes evenly and adds richness.
3. Don’t overbake. Check at 8–10 minutes (depending on your oven) and remove when edges are set but centers are still slightly soft.
4. Cool on a wire rack—do not let them sit in the pan or on a cooling rack too long, as this can make them hard. Let them cool for about 10 minutes before transferring.
5. Store properly: Keep in an airtight container at room temperature for up to 3 days, or freeze for up to 3 months. Refrigerate if storing longer than a week to prevent staleness.
—
Why do my gluten-free cookies spread so much, even when chilled?
Gluten-free cookies spread more than traditional ones because gluten-free flours lack elasticity, and the absence of gluten also means less structure to hold the dough’s shape. Here’s how to control spreading:
– Use a higher fat content (like melted butter) to help the dough hold its shape.
– Chill the dough thoroughly (at least 30 minutes) to firm it up before baking.
– Preheat your oven to 350°F (175°C) or lower—higher heat can cause excessive browning and spreading.
– Use parchment paper under the dough to prevent sticking and uneven baking.
– Underbake slightly—gluten-free cookies continue cooking after removal from the oven, so pull them out when edges are just golden.
If spreading is still an issue, try reducing the baking time by 1–2 minutes or increasing the oven temperature by 10°F (5°C).


