
strawberry glaze recipe

The Best strawberry glaze recipe
I also really appreciate how healthy it is compared to most glaze recipes. It’s made with just a few basic ingredients—fresh strawberries, honey, and a touch of lemon juice—so there’s no refined sugar or artificial junk. The natural sweetness of the strawberries makes it light and bright, and the lemon juice keeps it from getting too thick. It’s a great way to enjoy fresh fruit without worrying about too much sugar. Plus, it’s perfect for any occasion—whether you’re serving it at a brunch, a casual family dinner, or just making it for yourself when you want something sweet but not too heavy. My kids and I love it so much that it’s always in my fridge, ready to use whenever we want a little extra flavor boost.
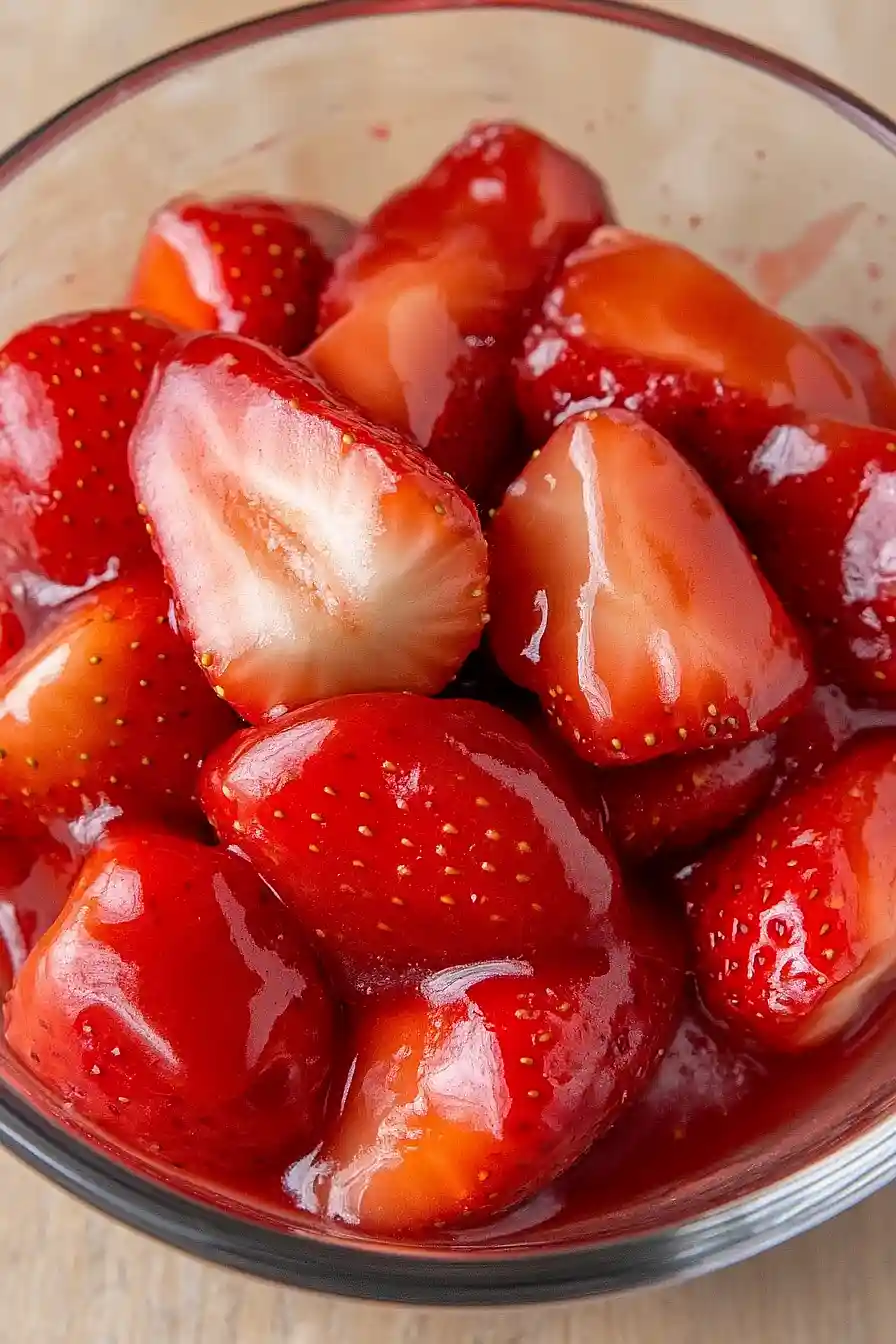
Strawberry Glaze Over Lemon Bars
A sweet and tangy strawberry glaze enhances the buttery, lemony flavor of these classic lemon bars. Perfect for adding a fruity finish to any dessert.
🥘Ingredients
- 2 cups all-purpose flour
- 1 cup unsalted butter, softened
- 1 cup granulated sugar
- 2 large eggs
- 1 tsp lemon zest
- 2 tbsp lemon juice
- 1/2 tsp salt
- 1 cup fresh strawberries, hulled and sliced
- 1/2 cup granulated sugar
- 1 tbsp lemon juice
- 1 tbsp cornstarch
- 1/4 tsp vanilla extract
👨🍳Directions
-
1
Preheat oven to 350°F (175°C). Line an 8×8-inch baking pan with parchment paper. -
2
In a large bowl, cream butter and sugar until light and fluffy. Add eggs one at a time, mixing well after each. Stir in lemon zest and lemon juice. -
3
In another bowl, combine flour and salt. Gradually add dry ingredients to the wet mixture, mixing until just combined. -
4
Press the dough evenly into the prepared pan. Bake for 25-30 minutes or until golden brown. Let cool completely. -
5
In a small saucepan, combine strawberries, sugar, lemon juice, cornstarch, and vanilla. Simmer over medium heat for 5-7 minutes, stirring until thickened. Cool to room temperature. -
6
Once the lemon bars are completely cooled, spread the strawberry glaze evenly over the top.
🔧Equipment
- Mixing bowls
- Electric mixer or whisk
- Oven
- Baking sheet
- Fine-mesh strainer
- Pastry brush
📊Nutrition Facts (per serving)
📝Notes
Tips
- For extra richness, add 1/2 cup whipped cream to the glaze before spreading.
- Use a fine-mesh strainer to ensure the glaze is smooth.
- Substitute strawberries with raspberries or blackberries for a different flavor variation.
Storage: Store in an airtight container in the refrigerator for up to 5 days. Reheat gently before serving.
Watch Video Of How Strawberry Glaze Over Lemon Bars Works
❓ Frequently Asked Questions About Strawberry Glaze Over Lemon Bars
What is the primary purpose of using strawberry glaze in baking?
The primary purpose of a strawberry glaze is to add rich, fruity flavor and a glossy, vibrant finish to baked goods like cakes, cookies, cupcakes, and pastries. It enhances moisture, depth of taste, and visual appeal, making desserts more enticing.
Can I substitute fresh strawberries for the strawberry purée in the recipe?
Yes, you can! Blend fresh strawberries into a smooth purée, strain out any seeds for a smoother texture, and use it directly in the glaze. If using frozen strawberries, thaw them first and drain excess liquid to avoid thinning the glaze.
Why does my strawberry glaze turn out too thick or too thin?
A thick glaze may result from over-reducing the strawberries or not enough sugar/liquid balance. Thin glaze could come from adding too much water, not reducing enough, or using overly ripe strawberries that release excess juice. Adjust by simmering longer (for thickness) or adding a splash of water/sugar (for thinness).
How can I make the glaze last longer without it thickening or separating?
To extend shelf life, reduce the glaze to a thicker consistency before cooling, then store it in an airtight container in the fridge (up to 5 days) or freeze portions (up to 3 months). Avoid reheating, as it can cause separation. For extra stability, add 1–2 tsp gelatin (bloomed) or cornstarch slurry before cooling.
For even coverage, use a pastry brush, squeeze bottle, or offset spatula. Drizzle or spread glaze in thin layers to prevent sogginess. For a glossy finish, let each layer dry slightly before adding the next. Avoid overloading—thin applications work best!

