
vanilla wafer recipe


The Best vanilla wafer recipe
What really makes these vanilla wafers special is how balanced they are—sweet but not too much, light but not airy, and packed with flavor without being overwhelming. My husband swears by them for his post-dinner pick-me-up, and my older daughter loves to make them for her friends’ birthdays because they’re so easy to customize with sprinkles or chocolate chips. I’ve also found that they’re surprisingly good for you in a way that feels indulgent. The whole-grain flour and a touch of honey or maple syrup give them a little extra fiber and natural sweetness, and the vanilla bean adds antioxidants that make them taste even better. It’s the kind of recipe that feels like a treat but also feels like a good choice—something my kids and I can enjoy without feeling guilty. Plus, they’re foolproof, which is always a plus when you’re trying to keep things simple.
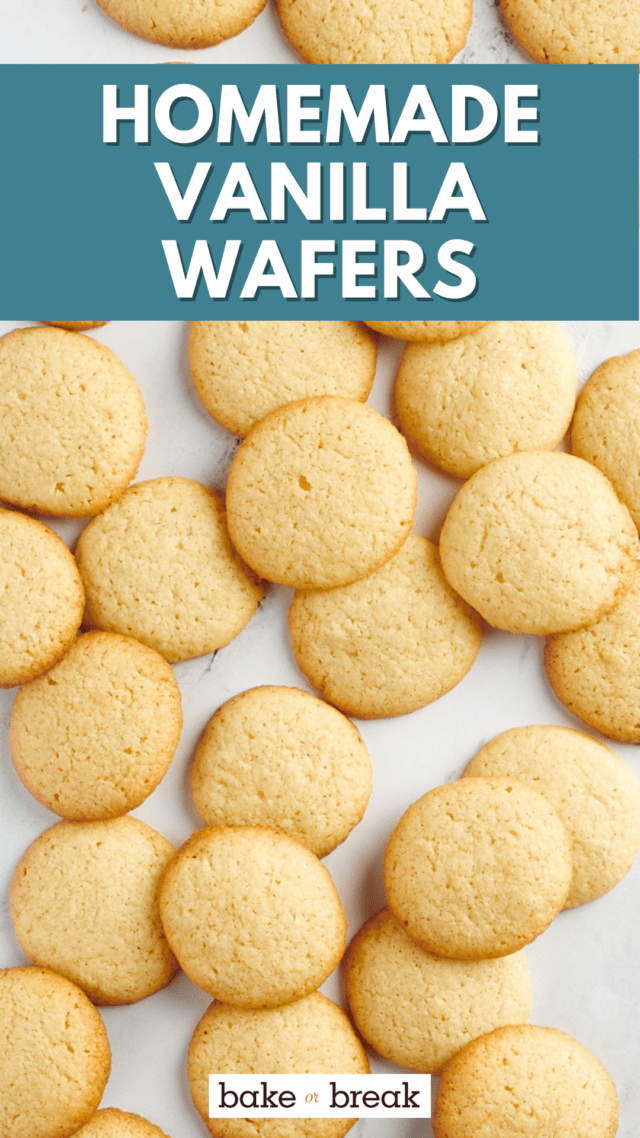
Classic Vanilla Wafers Recipe
Delightful, crispy vanilla wafers made with simple ingredients and a touch of sweetness. Perfect for pairing with coffee or tea.
🥘Ingredients
- 2 1/2 cups all-purpose flour
- 1 tsp baking powder
- 1/2 tsp salt
- 1/2 cup unsalted butter, softened
- 1/2 cup granulated sugar
- 1 large egg
- 1 tsp vanilla extract
- 1/4 cup whole milk
- 1 cup powdered sugar
- 1 tbsp whole milk
- 1/2 tsp vanilla extract
👨🍳Directions
-
1
Preheat oven to 350°F (175°C). Line two baking sheets with parchment paper. -
2
In a large bowl, cream together the butter and sugar until light and fluffy. Add the egg and vanilla extract, mixing well. -
3
In a separate bowl, whisk together the flour, baking powder, and salt. Gradually add the dry ingredients to the wet mixture, mixing until just combined. Stir in the milk until smooth. -
4
Divide the dough into four equal portions. Roll each portion into a ball, then flatten into a thin disc about 1/4-inch thick. Place on the prepared baking sheets, spacing them about 2 inches apart. -
5
Bake in the preheated oven for 8-10 minutes, or until the edges are lightly golden. Allow the wafers to cool on the baking sheets for 5 minutes before transferring to a wire rack to cool completely. -
6
While the wafers are cooling, mix the powdered sugar, milk, and vanilla extract in a small bowl until smooth. -
7
Once the wafers are cool, use a pastry bag or a ziplock bag to pipe the glaze evenly over the top of each wafer.
🔧Equipment
- Mixing bowls
- Electric mixer or stand mixer
- Pastry bag with a star tip (or ziplock bag with a corner cut off)
- Baking sheets
- Oven
📊Nutrition Facts (per serving)
📝Notes
- For extra flavor, add a pinch of cinnamon to the dough.
- Store wafers in an airtight container at room temperature for up to 1 week.
- Substitute butter with coconut oil if preferred.
- Ensure the dough is rolled thin enough for the wafers to crisp up evenly.
Watch Video Of How Classic Vanilla Wafers Recipe Works
❓ Frequently Asked Questions About Vanilla Wafers
What is the best way to store vanilla wafers to keep them fresh longer?
To store vanilla wafers fresh, keep them in an airtight container at room temperature for up to 2 weeks. If you want to extend their shelf life further, refrigerate them in a sealed container for up to 1 month or freeze them in a single layer on a tray before transferring to a bag or container to prevent clumping. Avoid exposing them to moisture or heat to maintain their texture and flavor.
—
Can I substitute ingredients in a classic vanilla wafer recipe, and if so, what are the best alternatives?
Yes, you can make substitutions, but some changes may affect texture or flavor. For example:
– Vanilla extract can be replaced with 1 tsp vanilla bean paste (for richer flavor) or 1/2 tsp almond extract (for a nutty twist).
– Butter can be swapped with margarine (though texture may differ) or vegan butter (ensure it’s stable at baking temps).
– Flour can be partially replaced with cornstarch (1:1) to help with crispiness, but too much can make them gummy.
– Sugar can be adjusted to taste, but reducing it slightly may make them denser. Avoid using powdered sugar as it can make them sticky.
—
Why do my vanilla wafers turn out soft instead of crispy?
Several factors can cause soft wafers:
– Overmixing the dough can make it dense and less crispy. Mix just until combined.
– Using too much sugar (especially powdered) can make them sticky. Reduce sugar by 1–2 tbsp and use granulated sugar instead.
– Underbaking is common—check at 12–15 minutes (edges should be golden but centers slightly underdone). Let them cool slightly before serving.
– High humidity can make them soggy. Bake on a well-greased tray or use parchment paper to prevent sticking.
– Too much butter can make them greasy. Use room-temperature butter and avoid overworking it.
—
How can I make vanilla wafers extra crispy for a crunchy texture?
For ultra-crispy vanilla wafers:
1. Preheat oven to 375°F (190°C)—higher heat helps brown the edges faster.
2. Use a mix of flour and cornstarch (e.g., 3 cups flour + 1 tbsp cornstarch) to improve crispiness.
3. Chill the dough for 30 minutes before baking—this firms up the butter for better structure.
4. Bake on a wire rack immediately after removing from the oven to cool quickly and retain crispness.
5. Brush with melted butter after baking (let cool slightly first) to enhance crispiness.
6. Avoid overcrowding the pan—bake in batches if needed for even crispness.
—
Can I use a food processor to make vanilla wafers, and if does it affect the texture?
Yes, you can use a food processor, but it can slightly alter texture:
– For a fluffier, less dense dough, pulse the dry ingredients (flour, sugar, baking powder) first, then add butter and vanilla in short bursts until just combined. This mimics hand mixing better.
– For a more uniform texture, pulse wet ingredients (eggs, milk) with the dry ingredients until smooth, but avoid over-processing to prevent a rubbery consistency.
– If using a stand mixer, use the paddle attachment and mix on low speed to avoid overworking the dough. A slightly chewier texture is normal with mechanical mixing.
– For crispier wafers, avoid overmixing entirely—stop as soon as the dough comes together.

