
canning dill pickle recipe

The Best canning dill pickle recipe
The best part? It’s a recipe that’s easy enough for beginners but still rewarding enough for anyone who likes to get hands-on in the kitchen. No fancy gadgets, just a few basic tools and a little patience. And the way the pickles crisp up over time? That’s the magic. They’re great for everyday eating, but they also feel special when you’re serving them at a gathering. My husband always says they’re the only thing that makes his sandwiches taste like they’re from a restaurant, and honestly, that’s enough for me. Plus, they’re a great way to use up fresh dill from the garden—no waste, no fuss.
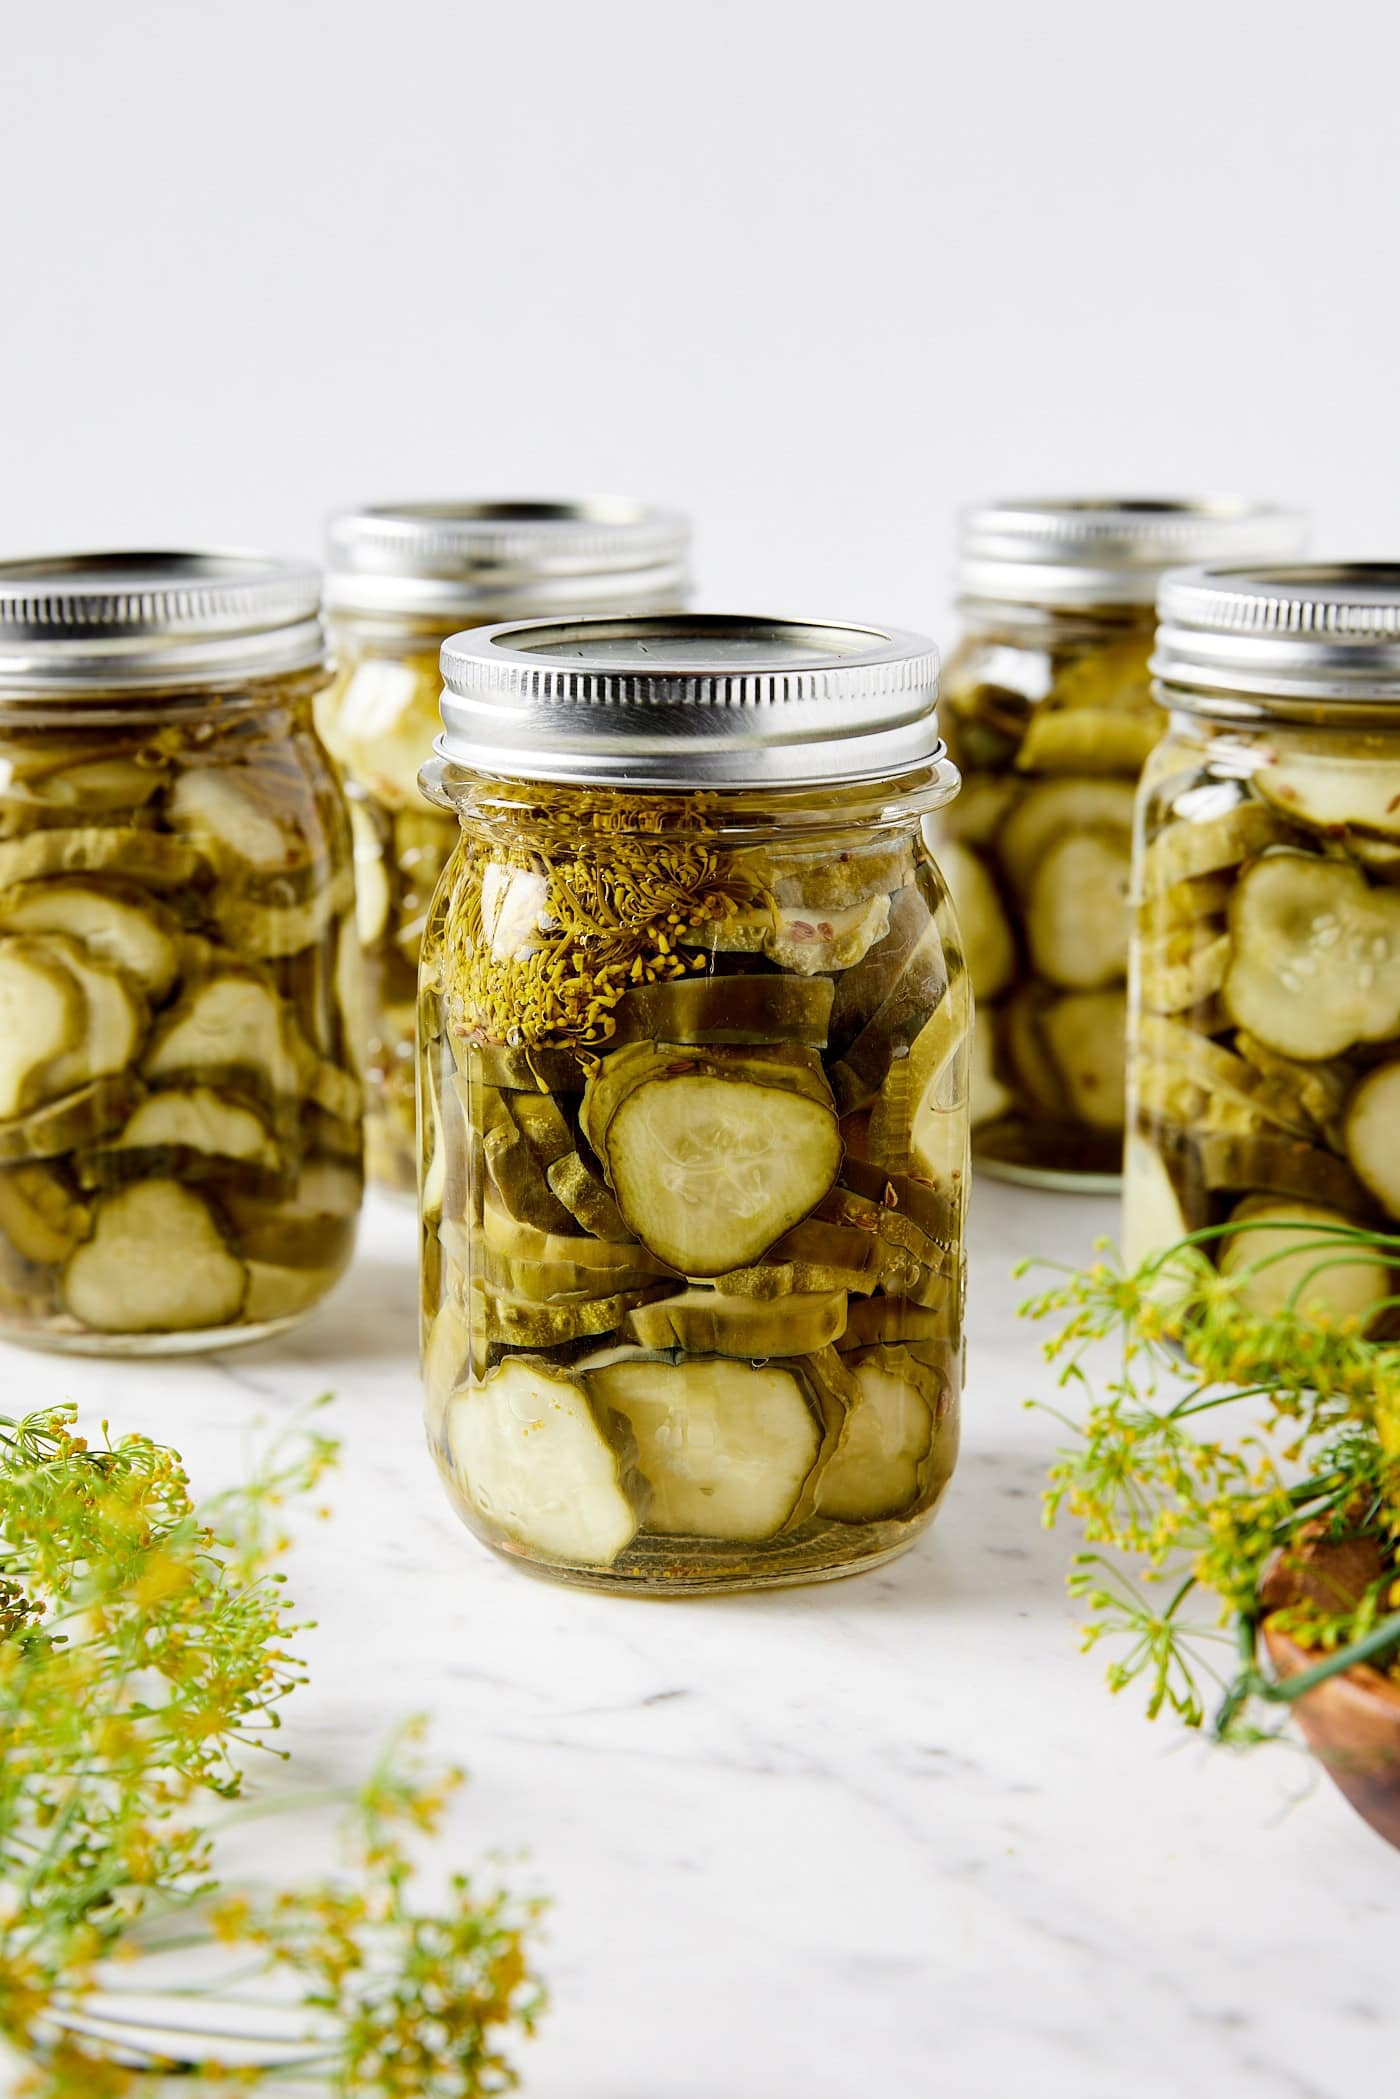
Classic Homemade Dill Pickles
Crisp, tangy dill pickles made fresh with simple ingredients and a few key steps. Perfect for snacking, sandwiches, or preserving summer harvests.
🥘Ingredients
- 1 lb green pickling cucumbers, thin-skinned
- 1 cup white vinegar
- 1 cup water
- 2 tbsp pickling salt
- 2 tbsp dill seeds
- 1 tsp garlic powder
- 1 tsp black peppercorns
- 1 tsp mustard seeds
- 1 cup water
- 1 cup white vinegar
- 2 tbsp pickling salt
- 2 tbsp dill seeds
- 1 tsp garlic powder
- 1 tsp black peppercorns
👨🍳Directions
-
1
Wash cucumbers thoroughly under cold water to remove dirt. Trim ends and slice into ½-inch thick sticks. -
2
In a large bowl, combine vinegar, water, pickling salt, dill seeds, garlic powder, peppercorns, and mustard seeds. Stir until salt dissolves. -
3
Pack sliced cucumbers into clean jars, leaving ½-inch headspace. Pour brine over cucumbers, ensuring they are fully submerged. -
4
Wipe jar rims clean, place lids on, and screw on bands tightly. Process jars in a boiling water bath for 10 minutes. -
5
Remove jars from water bath, let cool, then store in a cool, dark place for at least 2 weeks before eating.
🔧Equipment
- Clean jars and lids
- Water bath canner
- Slotted spoon
- Mixing bowls
📊Nutrition Facts (per serving)
📝Notes
Watch Video Of How Classic Homemade Dill Pickles Works
❓ Frequently Asked Questions About Dill Pickles
How long does it take to make dill pickles?
Dill pickles typically take about 4 to 6 hours to prepare—2 hours for pickling (brine heating and soaking) and 2 to 4 hours for fermentation (depending on room temperature). The pickles are ready to eat once the brine cools and the flavor develops fully, usually after 24 to 48 hours.
Can I use store-bought dill seeds instead of fresh?
Yes, you can! Store-bought dill seeds work just as well, but they may not be as potent. Rinse them lightly before using to remove any dust. For best flavor, use fresh dill if possible, but the seeds will still yield tangy, crunchy pickles.
What if I don’t have a water bath canner?
If you lack a water bath canner, you can safely store dill pickles in the fridge for up to 2 weeks without canning. Just keep them in an airtight container and consume within that time for the best texture and flavor.
Why do my pickles turn cloudy or slimy?
Cloudiness or sliminess usually means the brine isn’t acidic enough or the jar wasn’t sealed properly. If the brine is too dilute, add more vinegar (5% acidity) or lemon juice next time. If the jar leaks, check the seal—if it’s broken, discard the pickles.
Can I add other spices or herbs to the brine besides dill?
Absolutely! Common add-ins include garlic cloves, black peppercorns, red pepper flakes, or even a bay leaf. For extra zing, add onion slices or a pinch of mustard seeds. Just stir them into the brine before pouring over the pickles.

