
thin crust pizza base recipe

The Best thin crust pizza base recipe
I love this recipe because it’s not just about the crust—it’s about the balance. The thinness makes it light enough that it doesn’t weigh you down, but the dough still has that perfect chewiness from the gluten and a slight crispness at the edges. It’s the kind of base that feels like a treat but isn’t too much work, which is why we use it for everything from casual weeknight dinners to special occasions like game nights or holiday gatherings. My husband always says it’s the only pizza we ever need to buy, and I totally agree—it’s that reliable. And the best part? It’s not just good for the taste buds—it’s also a little healthier than thick crust because there’s less dough, so you get more of the good stuff from the toppings without feeling guilty. Plus, it’s way easier to cut into manageable portions, which is always a win when the kids are picking at their plates.
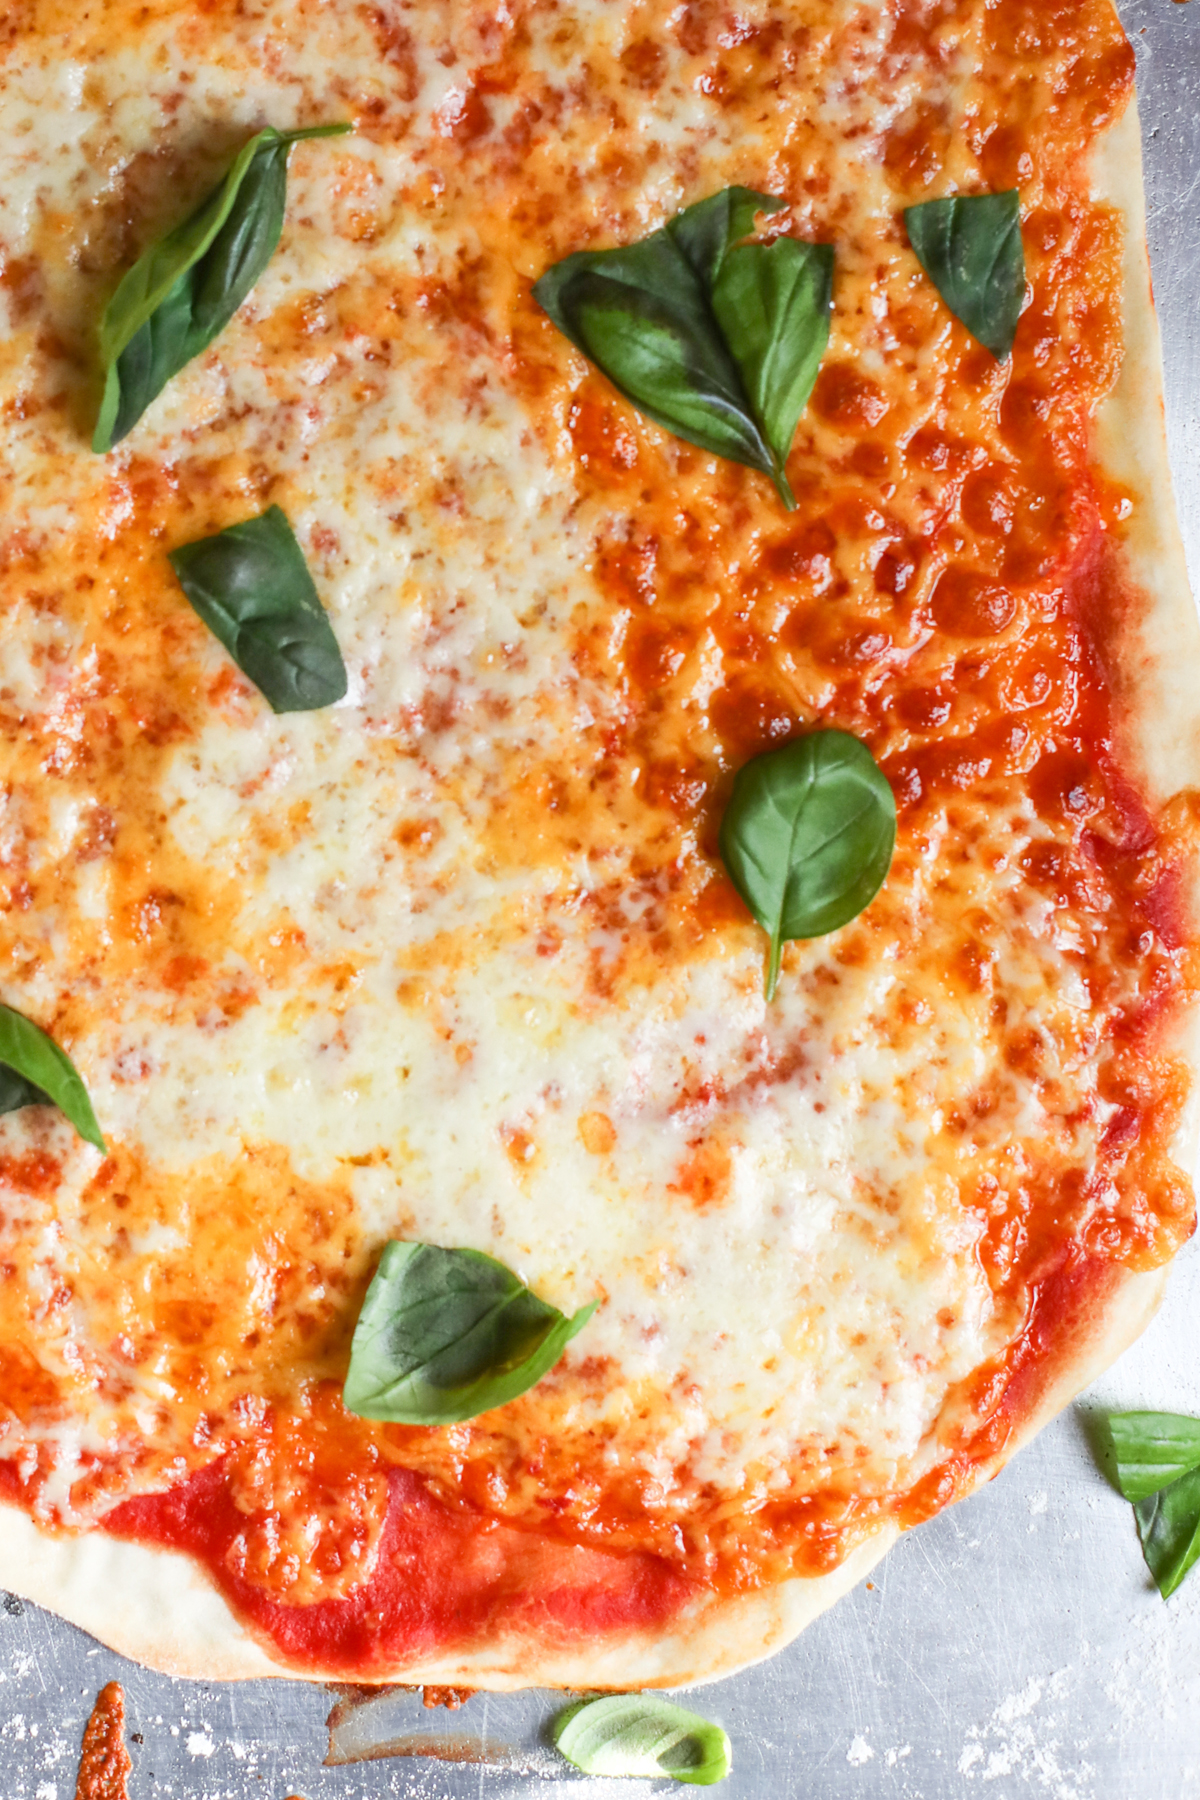
Ultra-Thin Crust Pizza Base Recipe
A crispy, thin crust pizza base perfect for custom toppings with minimal effort. Light yet sturdy, ideal for both classic and gourmet pizzas.
🥘Ingredients
- 2 cups (250g) all-purpose flour
- 1 tsp salt
- 1 tsp sugar
- 1 packet (2¼ tsp) active dry yeast
- 1 cup (240ml) warm water (110°F/43°C)
- 1 tbsp olive oil
- 1 cup (240g) tomato sauce (or marinara)
- 2 cloves garlic, minced
- 1 tbsp fresh basil, chopped
- ½ tsp dried oregano
- Salt and pepper to taste
- 1 tbsp tomato paste
- 1 tsp red pepper flakes (optional)
- 1 tbsp grated Parmesan cheese (for topping)
👨🍳Directions
-
1
In a bowl, dissolve yeast and sugar in warm water. Let sit for 5 minutes until foamy. -
2
In another bowl, mix flour and salt. Gradually add the yeast mixture and olive oil, stirring until a shaggy dough forms. -
3
Knead the dough on a floured surface for 8–10 minutes, or use a stand mixer with a dough hook for 5–7 minutes, until smooth and elastic. -
4
Place dough in a lightly oiled bowl, cover with a damp towel, and let rise in a warm place for 1 hour, or until doubled in size. -
5
Preheat oven to 475°F (245°C) with a baking sheet or pizza stone inside for 30 minutes. -
6
Roll the risen dough into a thin circle (about 12 inches / 30 cm) on a floured surface. Transfer to the prepared baking sheet or pizza peel. -
7
Preheat oven to 475°F (245°C) and bake the dough for 8–10 minutes until lightly golden. -
8
While the crust bakes, prepare the sauce by mixing tomato sauce, garlic, basil, oregano, tomato paste (if using), and seasonings. -
9
Spread the sauce evenly over the baked crust. Add toppings (e.g., cheese, pepperoni, veggies) and return to the oven for an additional 5–10 minutes until cheese melts.
🔧Equipment
- Mixing bowl
- Kneading surface or stand mixer with dough hook
- Clean kitchen towel or pizza peel
- Rolling pin (or a bottle for rolling)
- Baking sheet or pizza stone
- Oven
📊Nutrition Facts (per serving)
📝Notes
- For extra crispiness, brush the dough with a little olive oil before baking.
- Substitute whole wheat flour for a gluten-free option (adjust hydration slightly if needed).
- Use a pizza stone or metal baking sheet for even crispiness.
- Let the dough rest after rising for better texture.
Watch Video Of How Ultra-Thin Crust Pizza Base Recipe Works
❓ Frequently Asked Questions About Ultra-Thin Crust Pizza Base
What is the key difference between a thin crust pizza base and traditional thick crust?
The key difference lies in the dough thickness and baking method. A thin crust pizza base is typically much thinner (around ¼ to ⅛ inch), often made with a lighter, more elastic dough to create a crispy, delicate edge. Traditional thick crusts are denser, often requiring a longer rise and a softer texture. Thin crusts are baked at higher temperatures for shorter durations to achieve a crispy exterior while keeping the inside tender.
How can I ensure my thin crust pizza base stays crispy after baking?
To keep your thin crust pizza crispy:
– Use a higher protein flour blend (like all-purpose or bread flour) to create a firmer dough.
– Pre-bake the dough at 425°F (220°C) for 5–7 minutes before adding toppings to set the edges.
– Avoid overloading toppings, as excess moisture can make the crust soggy.
– Brush the baked crust with a light layer of olive oil or egg wash before serving for extra crispiness.
What type of flour should I use for a thin crust pizza base, and how much?
For a thin crust, a high-protein flour works best. Common options include:
– All-purpose flour (10–12% protein) – A good all-around choice, balancing structure and tenderness.
– Bread flour (12–14% protein) – Gives a firmer, crispier crust but may require extra kneading.
– Mix of all-purpose and whole wheat flour (for a lighter, airier texture) – Reduces gluten slightly but still holds shape well.
Start with 2 ½ to 3 cups (300–360g) all-purpose flour for a standard 12-inch pizza, adjusting based on hydration (about 1 ¼ to 1 ½ cups water).
How do I prevent the thin crust from becoming soggy with toppings?
Soggy crusts happen when toppings release moisture too quickly. To avoid this:
– Pre-bake the dough (as mentioned earlier) to set the edges before adding sauce and toppings.
– Use a thin layer of sauce (about ¼ cup) and spread it evenly—too much sauce can weigh down the crust.
– Choose dry toppings first (e.g., cheese, olives, veggies) before adding saucy ingredients like marinara or pesto.
– Add toppings in stages—start with cheese, then add saucy elements last.
– Bake at a higher temperature (475°F/245°C or higher) to help crisp the crust faster.
Can I make a thin crust pizza base without yeast, and if so, how?
Yes! A sourdough starter, baking powder, or even a quick yeast-free method can work for a thin crust. Here’s how:
– Sourdough method: Replace yeast with 1 cup active sourdough starter (instead of yeast) and let it ferment overnight (or 8–12 hours) for a tangy, crispy texture.
– Baking powder method: Use 1 tsp baking powder + ½ tsp baking soda instead of yeast for a quick rise (dough will be slightly denser but still crispy).
– No-ferment method: Mix flour, water, and a pinch of salt, then shape immediately—no proofing needed, but texture will be less airy.
For best results, still pre-bake the dough to help crisp the edges.


