
hard candy recipe

The Best hard candy recipe
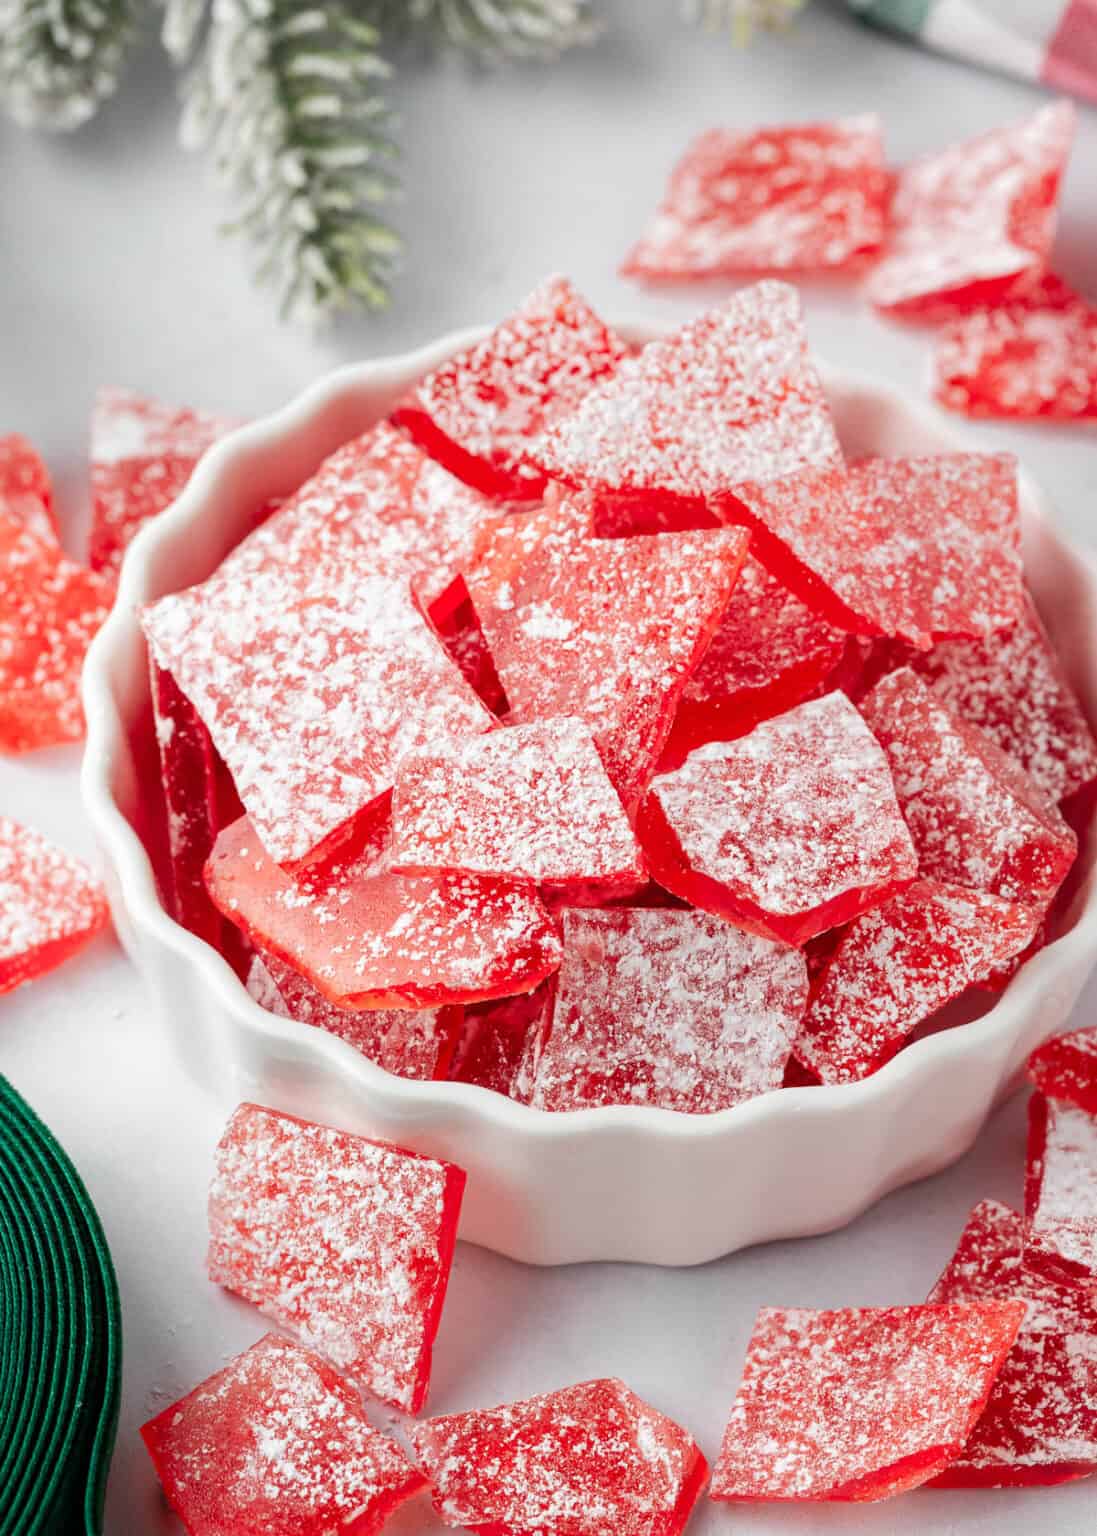
Classic Hard Candy Recipe
A simple and satisfying homemade hard candy recipe that requires minimal ingredients and effort. Perfect for gifting or enjoying as a sweet treat.
🥘Ingredients
- ½ cup granulated sugar
- ¼ cup corn syrup
- ¼ cup water
- 1 tsp lemon juice
- Food coloring (optional)
- Candy thermometer
👨🍳Directions
-
1
Preheat oven to 200°F (93°C) if using molds in the oven. Line a baking sheet with parchment paper. -
2
In a saucepan, combine sugar, corn syrup, and water. Stir over medium heat until sugar dissolves. -
3
Bring mixture to a boil, then increase heat to high. Continue boiling until the mixture reaches 300°F (149°C) or the candy thermometer indicates hard crack stage (~235°F/113°C for a firmer candy). -
4
Remove from heat and stir in lemon juice and food coloring (if using). Pour mixture into prepared molds or spread thinly on parchment paper. -
5
Place molds in the oven (if applicable) or let cool on a wire rack for 10–15 minutes until firm. Store in an airtight container.
🔧Equipment
- Saucepan
- Mixing bowl
- Parchment paper
- Silicone molds or candy molds
- Cooling rack
📊Nutrition Facts (per serving)
📝Notes
- For a smoother candy, ensure the mixture reaches the correct temperature precisely.
- Experiment with flavors like peppermint extract, vanilla, or fruit extracts.
- Store candy in a cool, dry place to maintain freshness.
Watch Video Of How Classic Hard Candy Recipe Works
❓ Frequently Asked Questions About Hard Candy
1. What is the best type of sugar for making hard candy, and why?
The best type of sugar for hard candy is granulated white sugar (or cane sugar), as it dissolves evenly and forms a smooth, glossy finish. Avoid powdered sugar or colored sugars, as they can create uneven textures or off-flavors. For extra shine, you can also use a small amount of corn syrup (about 1–2 tbsp) to slow crystallization and improve clarity.
2. How do I know when my candy is ready to be poured into molds?
Your candy is ready when it reaches the soft-ball stage (about 238–240°F / 114–116°C) on a candy thermometer. At this temperature, it should be thick enough to hold its shape when dropped from a spoon but still slightly pliable. If it’s too soft, it won’t harden properly; if it’s too hard, it may crack when cooled.
3. Can I add flavors or colors to my hard candy, and how do I do it safely?
Yes! For flavors, use pure natural extracts (like peppermint, lemon, or vanilla) or food-grade flavor oils (e.g., almond, coconut, or citrus). For colors, use FD&C-certified food dyes (check labels for safety). Always dissolve flavors and colors in hot water before mixing with sugar to ensure even distribution. Avoid essential oils unless tested for safety, as some can be toxic in large amounts.
4. What should I do if my candy turns cloudy or develops a grainy texture?
Cloudiness or graininess usually happens due to uneven sugar crystallization or improper cooling. To fix it:
– For cloudiness: Stir in a tiny bit of hot water (1–2 tsp) to break up crystals, then re-heat gently until dissolved.
– For graininess: Let the candy cool slowly (not too fast) to allow proper crystallization. If needed, re-melt and adjust sugar-to-water ratio slightly.
– Prevention: Use a clean, dry spatula and avoid overmixing—stirring too much can introduce air bubbles.
5. How long does homemade hard candy last, and how should I store it?
Homemade hard candy typically lasts 2–3 months if stored properly. To extend shelf life:
– Store in an airtight container (glass or food-grade plastic) in a cool, dark place (like a pantry).
– Avoid humidity—moisture can cause it to soften or mold. For extra protection, wrap individual pieces in parchment paper before sealing.
– If flavored with oils or extracts, check expiration dates on ingredients and consume within 1 month for best quality.


