
homemade maple syrup recipe


The Best homemade maple syrup recipe
I’m so excited to share with you my homemade maple syrup recipe. As a mom of three, I’ve always been on the lookout for ways to make our family’s meals healthier and more delicious. That’s why I love making my own maple syrup from scratch.
It’s a simple process that requires just a few ingredients and some patience, but the end result is well worth it. Not only does homemade maple syrup taste better than store-bought, but it’s also free from additives and preservatives that can be found in many commercial products. Growing up, I remember my grandmother making maple syrup every year during sugaring season.
She’d spend hours tapping the trees, collecting the sap, and boiling it down to create that rich, velvety syrup. It was a tradition that brought our family together and created lasting memories. Today, I continue this tradition with my own children, teaching them the importance of preserving traditional skills and recipes.
One of the things I love most about making homemade maple syrup is the process itself. From collecting the sap to boiling it down, there’s something meditative about watching the transformation from clear liquid to thick, golden syrup. And let’s not forget the aroma – oh, the sweet scent of boiling sap is like nothing else!
It fills our kitchen with a warm, cozy feeling that makes us all feel grateful for this simple pleasure. Of course, one of the best parts about making homemade maple syrup is sharing it with our loved ones. Whether we’re using it on pancakes, waffles, or even as a glaze for meats or vegetables, we know that every bite is infused with love and care.
And let’s not forget about the health benefits – pure maple syrup is packed with antioxidants and minerals that are essential for our bodies. By making it ourselves, we can ensure that we’re getting only the best quality ingredients without any additives or preservatives.
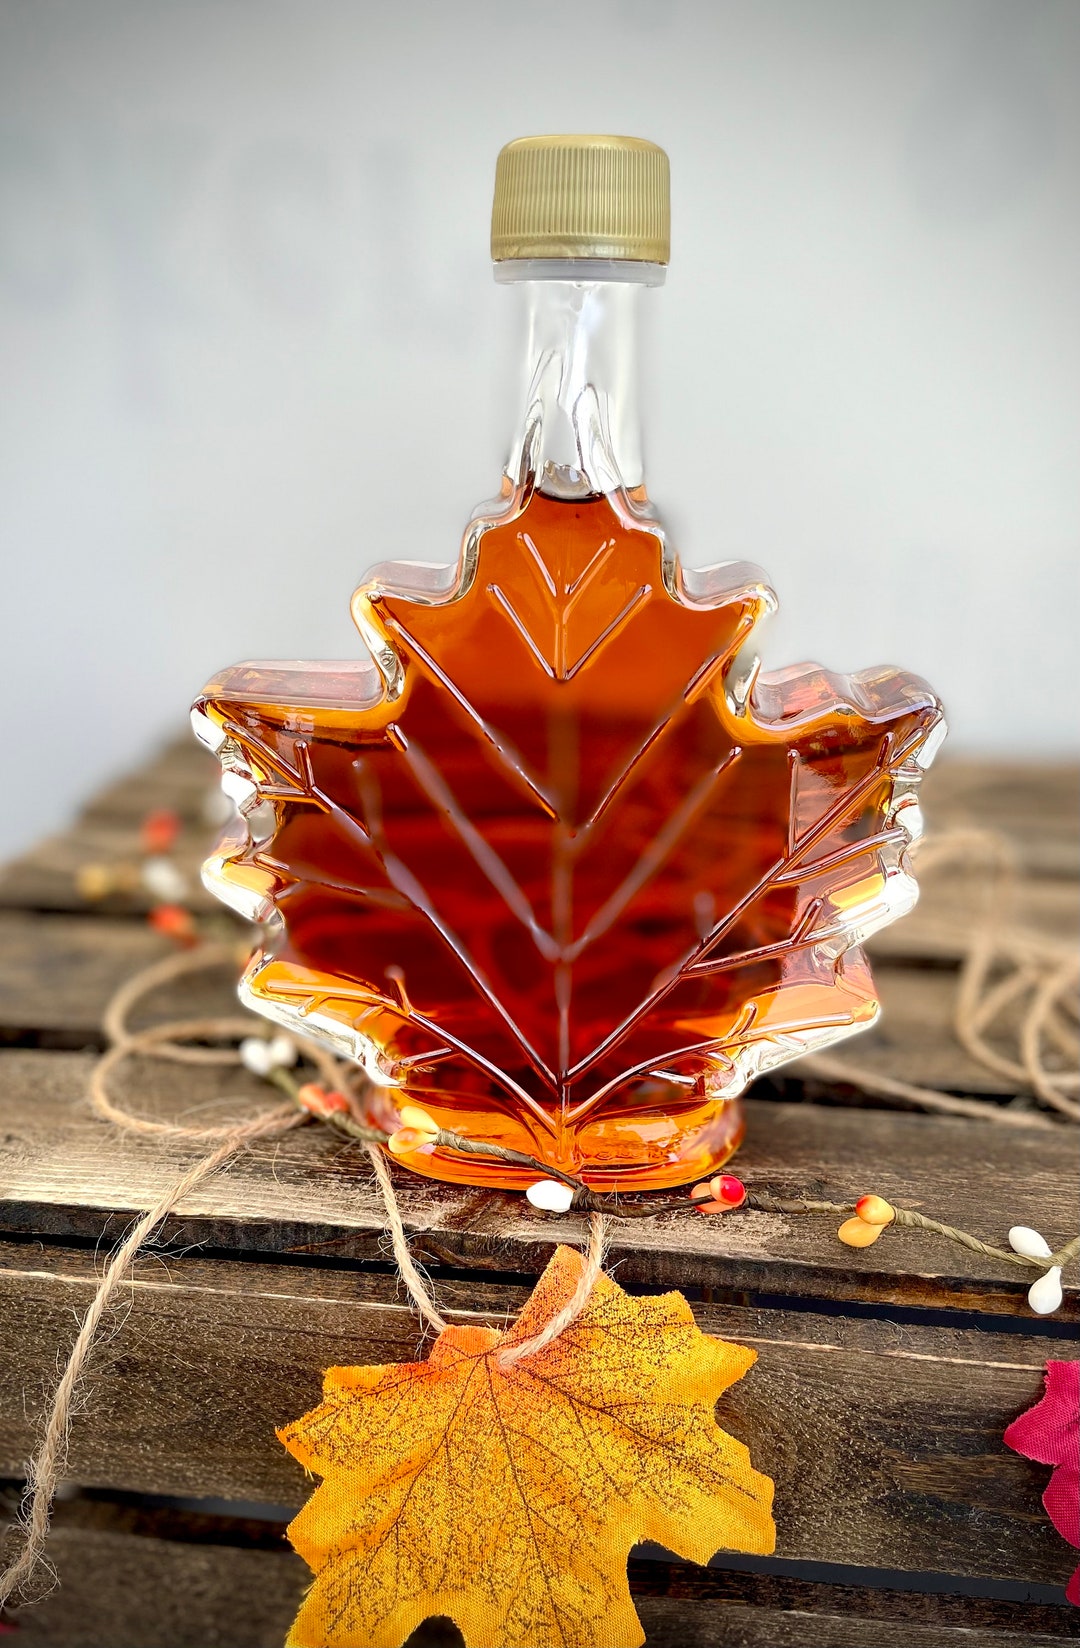
Homemade Maple Syrup
This homemade maple syrup recipe transforms maple sap into a rich, sweet syrup. Enjoy the pure, natural flavor of maple syrup that you can make in your own kitchen.
🥘Ingredients
Ingredients
👨🍳Directions
🔧Equipment
📊Nutrition Facts (per serving)
📝Notes
Watch Video Of How Homemade Maple Syrup Works
When you’ve finished making your homemade maple syrup, be sure to store it in an airtight container in the refrigerator or freezer. This will help preserve its flavor and texture over time.
Reheating is easy – simply place your desired amount in a saucepan over low heat until warmed through. For serving ideas, try drizzling it over pancakes or waffles during breakfast; using it as a glaze for meats or vegetables during dinner; or even mixing it into your favorite salad dressings for an added depth of flavor.
❓ Frequently Asked Questions About Maple Syrup
Q: What type of maple trees should I use for this recipe?
For this recipe, you’ll want to use sugar maple (Acer saccharum) trees, as they are specifically known for their high sugar content and ideal for making maple syrup.
Q: How long does it take to collect enough sap to make a batch of maple syrup?
The time it takes to collect enough sap can vary depending on factors like weather conditions and tree health. Generally speaking, you can expect to collect between 20-50 gallons of sap per week per tree during sugaring season.
Q: Can I use other types of sugar to make this recipe?
No, sugar is an essential ingredient in making maple syrup as it provides structure and texture to the final product.
Q: Is it possible to make this recipe without using a large pot or evaporator?
While you can attempt to make this recipe without specialized equipment, keep in mind that it may require more time and effort due to reduced evaporation rates.
Q: What are some creative ways to use homemade maple syrup?
There are countless ways to enjoy your homemade maple syrup! Try using it as a topping for ice cream or yogurt parfaits; drizzle it over roasted vegetables or meats; or even mix it into your favorite salad dressings for an added depth of flavor.
