
cherry preserves recipe

The Best cherry preserves recipe
My family loves these preserves for all kinds of reasons, really. My husband will always grab a spoonful when he’s working late and just needs something to tide him over until breakfast. The kids, well, they’ll eat it straight from the jar like candy—no plate, no mess, just pure indulgence. And let’s be honest, there’s nothing quite like the first bite of homemade cherry preserves on a warm, buttery croissant on a lazy Sunday morning. It’s the kind of thing that makes you feel like you’re living in the moment, not rushing through life. Plus, it’s a great way to use up any extra cherries you have—whether they’re from your own garden, a roadside stand, or even a little left over from holiday baking. And the health perks? Cherries are packed with antioxidants, fiber, and even some natural anti-inflammatory properties, so it’s not just good for the taste buds, it’s good for you, too. That’s something I always tell my kids—eat the good stuff, and you’ll feel good inside and out.
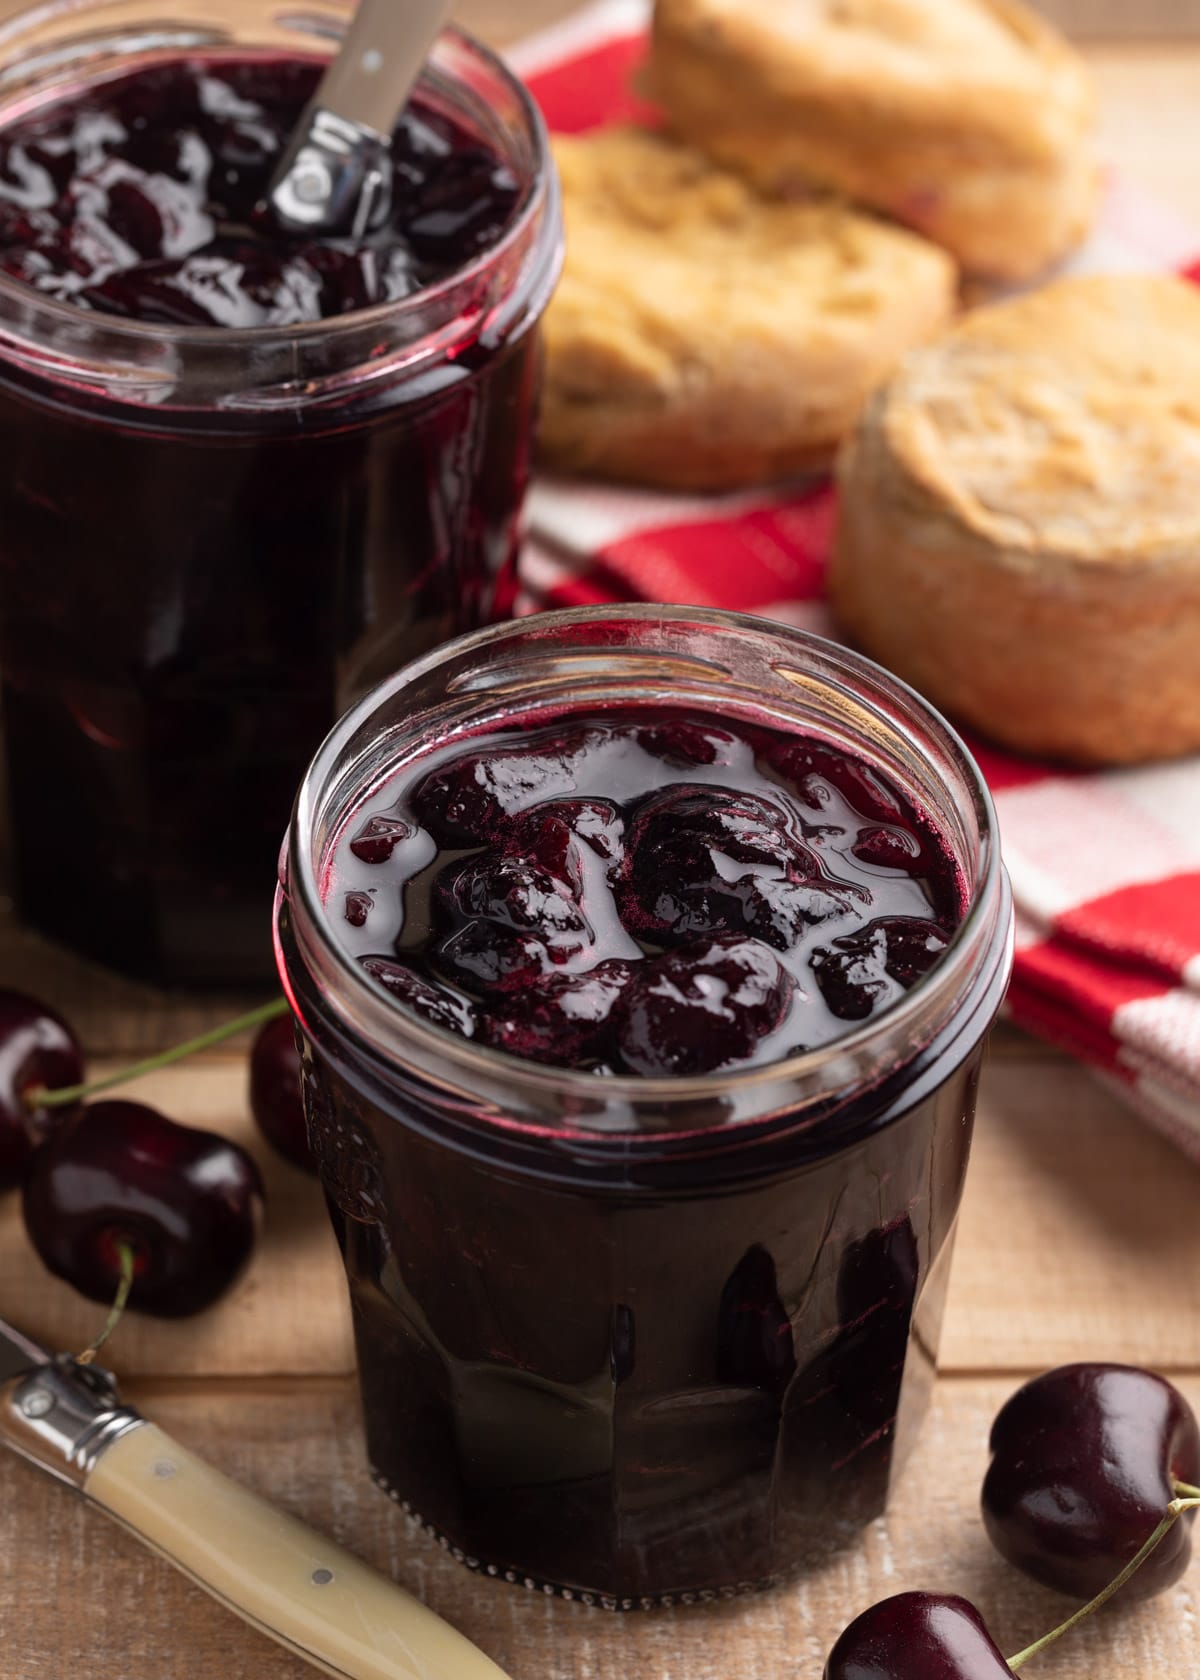
Classic Cherry Preserves
A rich, homemade cherry preserve recipe that captures the natural sweetness and depth of fresh cherries. Perfect for spreading on toast, pairing with cheese, or gifting as a homemade treat.
🥘Ingredients
- 2 lbs (900g) fresh or frozen pitted cherries (tart or sweet varieties)
- 1 cup water
- 1 tbsp lemon juice
- 3 cups granulated sugar
- 1 tsp ground cinnamon (optional)
- Clean, sterilized jars and lids
- Canning funnel
- Pot with heavy bottom
- Slotted spoon
- Wooden spoon
👨🍳Directions
-
1
Prepare the cherries: If using fresh cherries, wash and pit them. For frozen cherries, thaw them and drain any excess liquid. In a large bowl, combine cherries, water, and lemon juice. Let sit for 15 minutes to soften. -
2
Sterilize jars: Place jars in a pot of boiling water for 10 minutes. While jars are sterilizing, boil water in a separate pot for the preserves. -
3
Cook the cherries: In the pot with boiling water, add cherries and cook over medium heat for 5 minutes. Drain and return cherries to the pot. -
4
Add sugar: Gradually add sugar to the pot while stirring constantly to dissolve. Bring to a full rolling boil, ensuring the mixture reaches 220°F (104°C) on a thermometer, or until it reaches the soft-ball stage. -
5
Process the preserves: Carefully ladle the hot cherry mixture into sterilized jars, leaving ¼-inch headspace. Wipe jar rims clean, place lids on, and screw on bands tightly. -
6
Seal and cool: Place jars in a water bath canner for 10 minutes. Remove jars and let cool completely on a wire rack. Check seals by pressing on the lid; if it doesn’t spring back, the jar is sealed.
🔧Equipment
- Large pot
- Mixing bowls
- Wooden spoon
- Sterilized jars and lids
- Canning funnel
- Thermometer (optional but recommended)
📊Nutrition Facts (per serving)
📝Notes
Tips
- Use tart cherries for a more intense flavor. Sweet cherries can be blended with a bit of tart cherries for balance.
- For a thicker preserve, cook the mixture longer until it reaches a thicker consistency.
- Store in a cool, dark place for up to 1 year. Refrigerate after opening for up to 3 months.
- If you prefer a smoother texture, blend the cherries slightly before cooking.
Substitutions
- Substitute brown sugar for white sugar for a deeper flavor.
- Add 1 tbsp of pectin if you want a firmer set.
Watch Video Of How Classic Cherry Preserves Works
❓ Frequently Asked Questions About Cherry Preserves
What is the best type of cherries to use for homemade cherry preserves?
The best cherries for homemade cherry preserves are sweet, firm, and plump varieties like Montmorency tart cherries (for tartness) or Sweetheart or Rainier cherries (for sweetness). Avoid overly mushy or sour cherries, as they can affect the texture and flavor of the preserves. Freshly picked cherries work best, but you can also use frozen cherries if fresh ones aren’t available.
—
How do I prevent cherry preserves from getting too thick or grainy?
To avoid a thick or grainy texture, follow these steps:
1. Use a mix of pectin types—high-tart pectin (like Ball’s No. 1) works best with tart cherries, while low-tart pectin (like Ball’s No. 2) is better for sweeter varieties.
2. Simmer slowly—reduce heat gradually to avoid breaking down pectin prematurely.
3. Strain properly—use a fine-mesh sieve to remove seeds and pulp, then strain again through cheesecloth if you prefer a smoother finish.
4. Adjust sugar-to-fruit ratio—if the mixture is too thin, simmer longer; if too thick, add a little water and simmer until it reaches the desired consistency.
—
Can I make cherry preserves without adding extra sugar?
Yes, but it’s challenging and may not yield the same shelf stability. Low-sugar preserves can be made using natural pectin (like fruit puree-based pectin) or by relying on cherry tannins for thickness. However, they’ll require refrigeration (not canning) and may spoil faster. For a balanced approach, use half the recommended sugar and add a splash of lemon juice to help preserve freshness.
—
How do I know if my cherry preserves are fully set?
Cherry preserves are fully set when they pass the jelly test:
1. Jelly test: Place a small spoonful on a cold plate. If it doesn’t wobble when you gently shake it, it’s ready.
2. Poke test: Use a toothpick or skewer—if it comes out clean, the preserves are set.
3. Temperature check: The mixture should reach 210°F (99°C) on a candy thermometer before removing from heat.
—
How should I store homemade cherry preserves?
For short-term storage (1–2 months):
– Keep in an airtight glass jar in the fridge.
– Use within 3 months for best quality.
For long-term storage (up to 1 year):
– Water bath canning (using a pressure canner for 10 minutes at 0–2% altitude) is the safest method.
– Label jars with the date and store in a cool, dark place.
– Avoid plastic containers—they can leach chemicals over time.
(Note: Uncanned preserves should be consumed within 3 months.)
