
dry rub recipe


The Best dry rub recipe
I love this method because it’s so versatile. You can use it for anything from chicken to beef to even veggie burgers if you’re feeling creative. It’s perfect for a casual BBQ night or a weekend meal when you want something satisfying but not too heavy. Plus, the dry rub is packed with herbs and spices that add antioxidants and other nutrients, making it a healthier way to enjoy meat without sacrificing flavor. It’s also a great way to use up any leftover spices you have on hand—no waste, just flavor. My family and I swear by it, and it’s always a hit at the table.
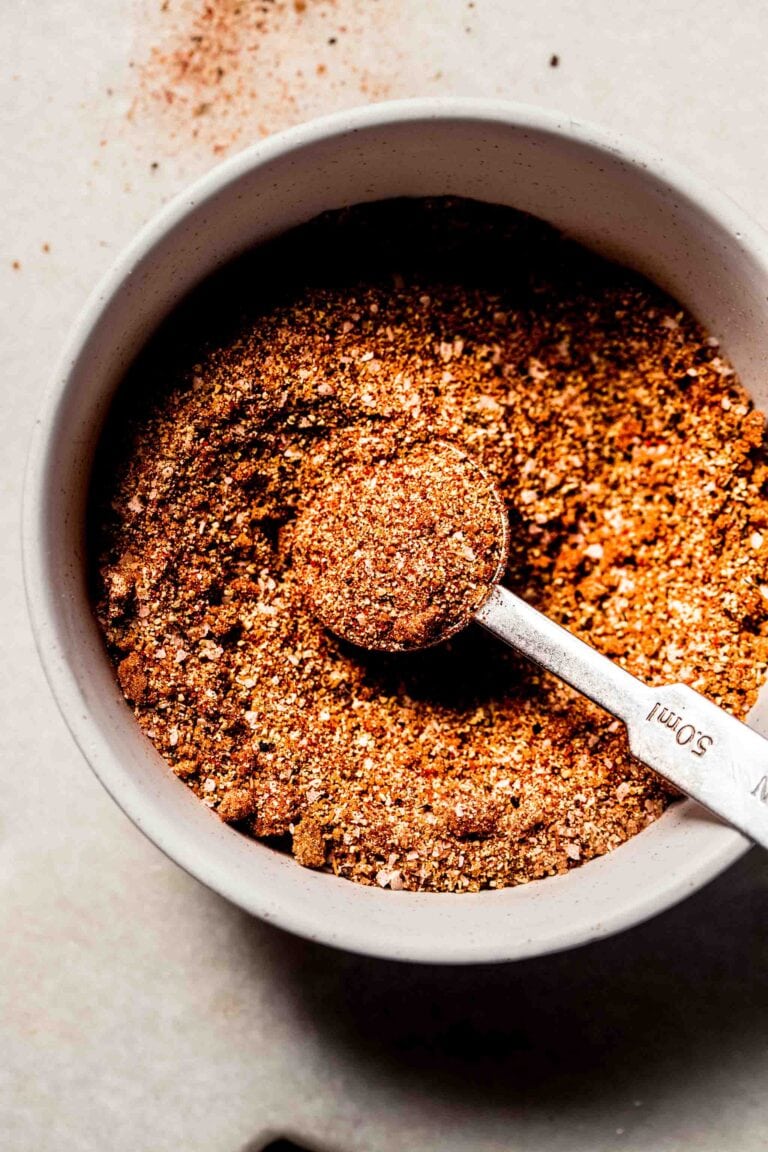
Crispy Garlic Tomato Flatbread with Dry Rub
A simple, flavorful flatbread that’s lightly crisped and infused with garlic and tomato sauce. Perfect for dipping or serving alongside meats and dips.
🥘Ingredients
- 2 cups all-purpose flour
- 1 tsp salt
- 1 tsp olive oil
- 1/4 cup warm water
- 1 tbsp smoked paprika
- 1 tbsp garlic powder
- 1 tbsp onion powder
- 1 tsp black pepper
- 1 tsp dried oregano
- 1 cup tomato sauce
- 2 cloves garlic, minced
- 1 tbsp olive oil
- Salt to taste
👨🍳Directions
-
1
Preheat oven to 400°F. Mix flour, salt, olive oil, and warm water in a bowl to form a dough. Knead lightly for 1 minute. -
2
Divide dough into 4 equal pieces. Roll each into a thin circle (about 1/8-inch thick) on a floured surface. -
3
Place rolled dough on a baking sheet. Sprinkle each with the dry rub mixture evenly. -
4
Bake for 12–15 minutes until edges are lightly golden. Remove from oven. -
5
In a small pan, heat tomato sauce with garlic and olive oil over medium heat for 3–4 minutes. Season with salt. -
6
Drizzle warm sauce over baked flatbreads and serve immediately.
🔧Equipment
- Mixing bowl
- Rolling pin
- Baking sheet
- Oven
📊Nutrition Facts (per serving)
📝Notes
Watch Video Of How Crispy Garlic Tomato Flatbread with Dry Rub Works
❓ Frequently Asked Questions About Crispy Garlic Tomato Flatbread with Dry Rub
1. What is the best way to store leftover dry rub for future use?
Store any unused dry rub in an airtight container, like a resealable plastic bag or a small glass jar. Keep it in a cool, dry place—such as a pantry or cupboard—where it won’t absorb moisture or odors. If the rub contains spices like paprika or cumin, which can lose potency over time, use it within three months for the best flavor.
2. Can I adjust the spice levels in the dry rub recipe to suit my taste?
Absolutely! If you prefer a milder or more intense flavor, start by reducing the amount of chili powder or cayenne pepper. For a sweeter profile, add a bit more brown sugar or honey. If you like a sharper kick, increase the cayenne or add a pinch of smoked paprika. Taste as you go—small adjustments work best.
3. How do I ensure the dry rub sticks well to the meat when cooking?
For best adhesion, pat the meat dry with paper towels before applying the rub. Coat the surface evenly, pressing it into the meat with your fingers or a clean spoon. If using a marinade or oil, let it sit for 15–30 minutes before cooking to help the flavors meld. For tougher cuts, like chuck roast, let the rub sit overnight for deeper penetration.
4. What are some common mistakes to avoid when making this dry rub?
Avoid overcrowding the pan when browning the meat—cook in batches for even heat. Don’t skip the resting time after cooking; letting the meat rest helps juices redistribute. If the rub burns too quickly, lower the heat slightly or cook the meat in two stages (sear first, then finish low and slow). Finally, don’t toss the leftover rub—save it for future use or compost it.
5. Can I use this dry rub on other types of meat besides chicken?
Yes! This dry rub works beautifully on pork chops, ribs, beef brisket, or even lamb chops. The key is to adjust cooking times based on the meat’s thickness and cut. For example, thicker cuts like pork shoulder may need longer cooking, while thinner cuts like chicken breasts can be done faster. Always check internal temperatures for safety.
