
flounder fish recipe

The Best flounder fish recipe
This recipe works for so many occasions. It’s light enough for a summer barbecue or a casual family dinner, but it also holds its own at a more formal gathering because it’s not too heavy. My husband always says it’s the kind of dish that makes people think, “This is actually good,” without making them feel like they’ve overindulged. Plus, flounder is one of those fish that’s lean and packed with nutrients—it’s high in protein and low in calories, making it a great choice for anyone trying to eat well without feeling deprived. My kids love it because it’s not greasy, and it’s something they can eat without worrying about their plates being too full. It’s that kind of dish that feels special, but it’s also something you can make every week without ever getting tired of it.
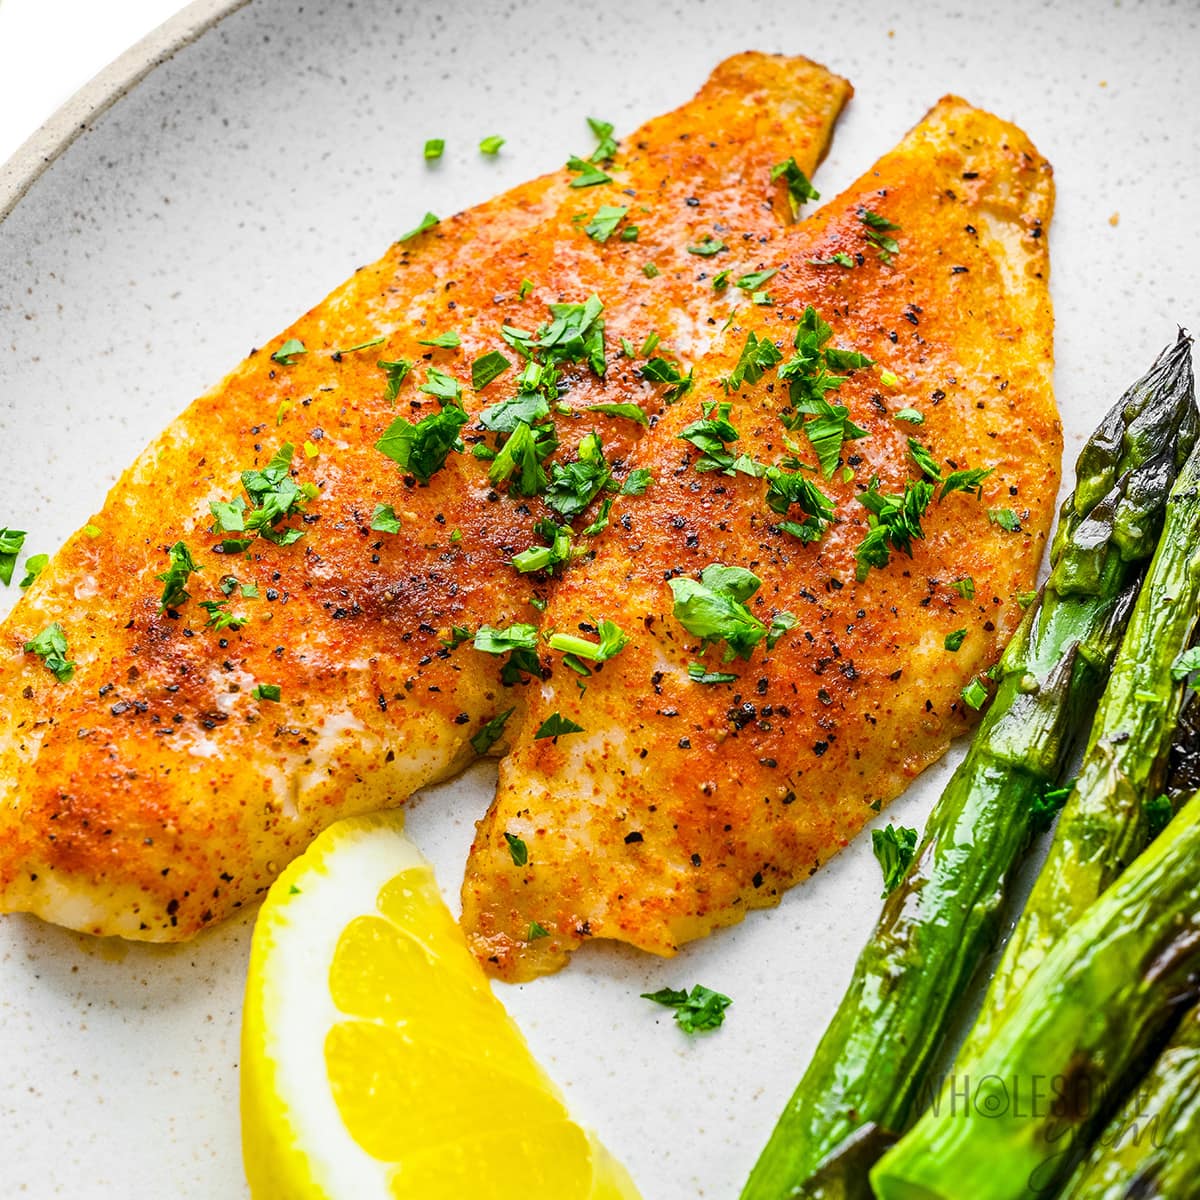
Pan-Seared Flounder with Lemon-Dill Sauce
A light yet flavorful dish featuring flounder fillets cooked to perfection with a zesty lemon-dill sauce. Perfect for a quick yet elegant seafood meal.
🥘Ingredients
- 4 flounder fillets (about 6 oz each)
- 2 tbsp olive oil
- 1 tsp salt
- ½ tsp black pepper
- ½ cup mayonnaise
- 2 tbsp fresh lemon juice
- 2 tbsp chopped fresh dill
- 1 clove garlic, minced
- 1 tsp Dijon mustard
- Fresh parsley, chopped
- Lemon wedges
👨🍳Directions
-
1
Preheat oven to 400°F (200°C). Pat flounder fillets dry with a paper towel and season both sides with salt and pepper. -
2
Heat olive oil in a non-stick skillet over medium-high heat. Cook flounder fillets for 3–4 minutes per side until golden brown and flaky. -
3
While flounder cooks, mix mayonnaise, lemon juice, dill, garlic, and Dijon mustard in a bowl to make the sauce. -
4
Transfer flounder to a plate, drizzle with the lemon-dill sauce, and garnish with chopped parsley and lemon wedges.
🔧Equipment
- Mixing bowl
- Cutting board
- Knife
- Non-stick skillet
- Baking sheet (optional, for broiling)
- Measuring spoons
📊Nutrition Facts (per serving)
📝Notes
Tips
- Ensure flounder is fresh and fillets are thin for even cooking.
- For extra crispiness, broil flounder for 1–2 minutes at the end of cooking.
- Adjust lemon juice to taste—more for tangier sauce, less for subtler flavor.
Substitutions: {“flour”:”Skip if not using a breadcrumb alternative (e.g., almond flour for gluten-free).”,”dill”:”Use chives or parsley as a substitute if dill is unavailable.”}
Watch Video Of How Pan-Seared Flounder with Lemon-Dill Sauce Works
❓ Frequently Asked Questions About Pan-Seared Flounder with Lemon-Dill Sauce
What is the best way to prepare flounder for cooking?
Flounder is best prepared by gently searing it skin-side down in a hot pan or baking it at 375°F (190°C) for about 12-15 minutes per side. Avoid overcooking, as flounder can dry out quickly. You can also poach it in white wine, broth, or lemon butter sauce for a lighter option.
How do I know when flounder is cooked properly?
Flounder is done when it flakes easily with a fork and reaches an internal temperature of 145°F (63°C). The flesh should be opaque and slightly firm but tender. Overcooking can make it rubbery, so remove it from heat just before it reaches this point.
What are the best seasonings and sauces to pair with flounder?
Flounder pairs well with mild, fresh flavors like lemon, white wine, garlic, dill, parsley, or a light butter sauce. For a tangy touch, try a quick pickled red onion or a citrus-based glaze. Avoid overly spicy or heavy sauces, as flounder’s delicate taste can be overwhelmed.
Can flounder be cooked in a pressure cooker or Instant Pot?
Yes! Flounder cooks quickly in a pressure cooker—simmer it for 5-7 minutes until opaque and flakes easily. For the Instant Pot, use the high-pressure setting for 3-4 minutes, then let it natural-release. This method ensures even cooking without drying it out.
How should I store leftover flounder to keep it fresh?
Store leftover flounder in an airtight container in the fridge for up to 3 days. To reheat, gently warm it in a pan with a little butter, lemon, or broth to restore moisture. Avoid reheating in the microwave, as it can make the fish rubbery. Freezing is also an option—wrap it tightly and freeze for up to 3 months.

