
fruity pebbles rice crispy treats recipe


The Best fruity pebbles rice crispy treats recipe
I started making Fruity Pebbles rice crispy treats a few years ago when my youngest asked for something colorful for a class party and I did not have time for a cake. They take about 15 minutes, use one pot and one pan, and there is no oven involved. Melted butter and marshmallows hold everything together, and the cereal brings the color and the flavor without any food dye work on my end. I keep the ingredients in the pantry now because I never know when someone will need a plate of something for a bake sale, a birthday, or a Tuesday.
My kids lose their minds over these every single time. The treats stay soft for a day or two, the colors stay bright, and they cut into clean squares that hold up in a lunchbox. I make a double batch for summer cookouts and holiday trays because they disappear faster than anything else on the table. They are also the one recipe my kids can mostly make on their own, which means I get to sit down while someone else stirs.
I am not going to pretend this is a health food. It is marshmallows and sweet cereal, and I treat it that way. What I do like is that the ingredient list is short and I can read every item on it, the recipe needs no baking, and the cereal is fortified with vitamins and minerals, so it is not empty in every sense. We eat these as a dessert or a party treat, not as breakfast, and that balance works fine for our house.
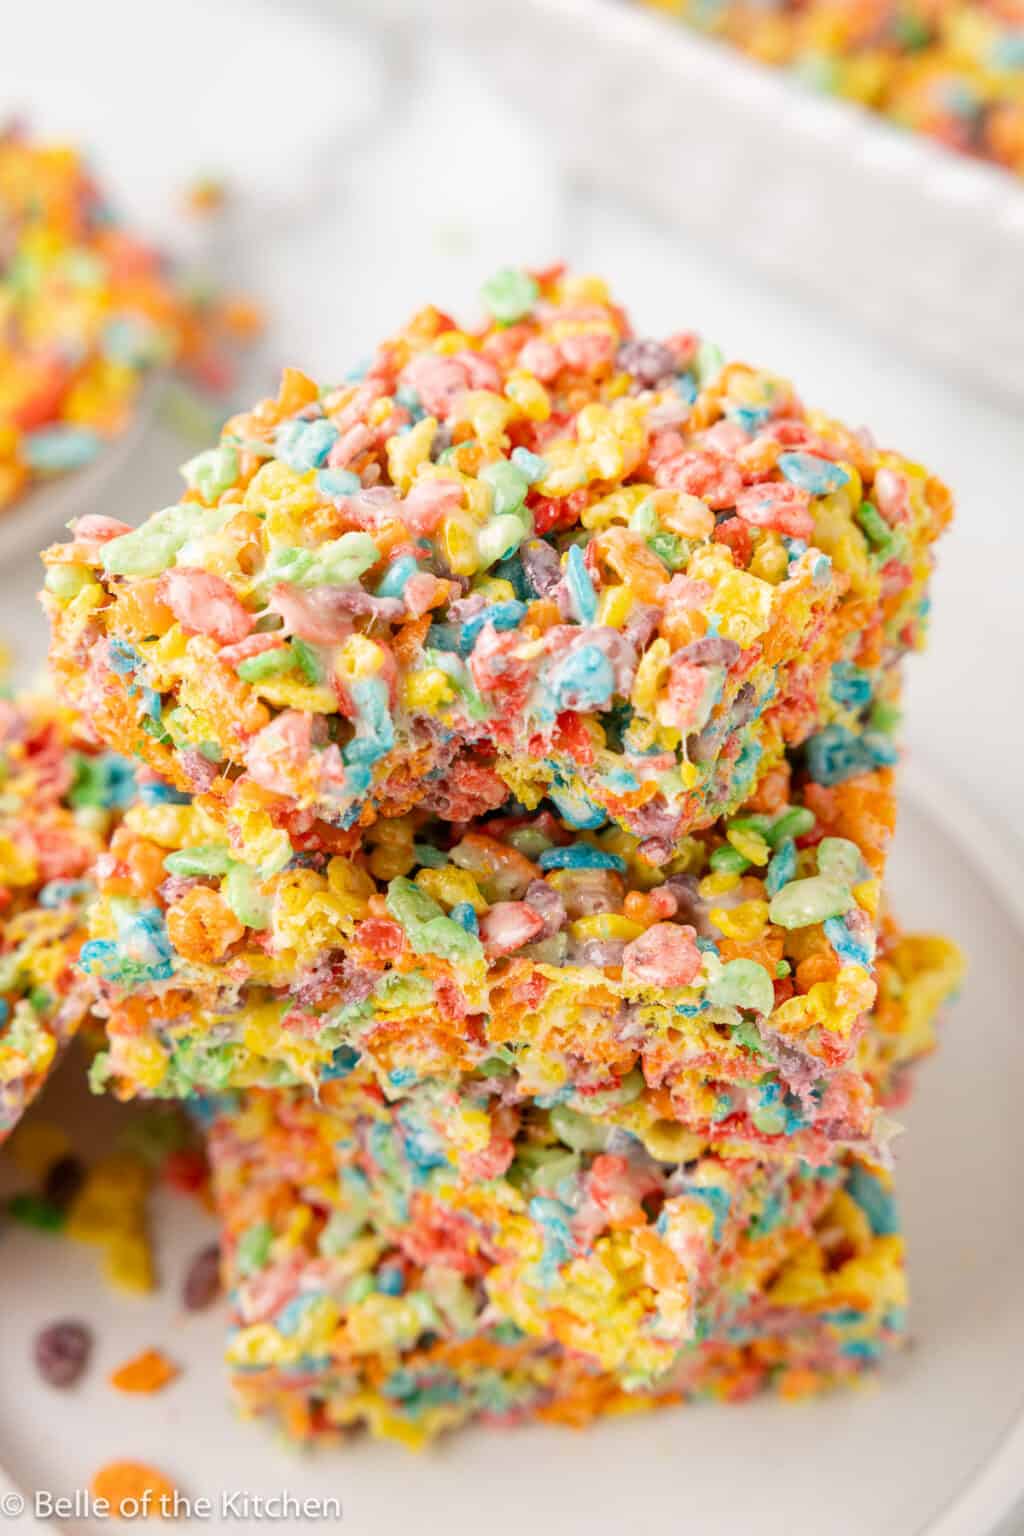
Fruity Pebbles Rice Krispie Treats
Gooey marshmallow treats made with colorful Fruity Pebbles cereal instead of the classic snap, crackle, and pop. They come together on the stovetop in about 10 minutes and set into chewy, rainbow-flecked squares that kids and adults both reach for.
🥘Ingredients
For the Treats
For the Optional Topping
👨🍳Directions
🔧Equipment
📊Nutrition Facts (per serving)
📝Notes
Watch Video Of How Fruity Pebbles Rice Krispie Treats Works
This is the treat I bring out whenever we have people over because it takes very little time, my kids can help, and everyone from the little ones to my parents reaches for one. Fruity Pebbles Rice Krispy Treats work for birthdays, holidays, potlucks, and plain old Saturday afternoons with the neighbors. If you need something that makes a family gathering feel special without a long ingredient list, this is the recipe I keep coming back to.
❓ Frequently Asked Questions About Fruity Pebbles Rice Krispie Treats
1. Can I swap in a different cereal?
Yes. The method stays the same no matter which cereal you use, so plain Rice Krispies, Cocoa Pebbles, or a mix of two cereals all work. Keep the cereal amount the same as the recipe calls for, since changing the volume changes how wet the marshmallow mixture turns out. If you use a denser or heavier cereal, add it in a little at a time and stop when the mixture looks evenly coated rather than dry and crumbly.
2. Why did my treats come out dry and crumbly?
Dry treats almost always come from overheating the marshmallows or packing in too much cereal. Melt the marshmallows over low heat and pull the pan off the burner as soon as the last lumps disappear, before the mixture starts to look glossy and stiff. Fold the cereal in gently with a spatula and stop as soon as it’s coated, even if a few stray pieces are left in the bowl. Pressing the mixture into the pan with a light hand also keeps the bars tender instead of tough.
3. How should I store them, and how long do they keep?
Cut the treats and store them in an airtight container at room temperature, layered with parchment between the rows so they don’t fuse together. They’re best within two to three days, when the cereal still has some snap. Keep them away from heat and direct sun, and don’t refrigerate them, since the cold makes the marshmallow turn hard and chewy.
4. Can I make them ahead of time or freeze them?
You can make them a day ahead, and they hold up well for a party or bake sale. For longer storage, cut the slab into squares, wrap each one tightly, and freeze for up to a month. Thaw at room temperature for about an hour before serving so the bars soften back up without getting sticky.
5. Do I need to grease the pan?
Yes, and don’t skip it. Line the pan with parchment and lightly coat the parchment and the sides with butter or nonstick spray, which makes lifting the whole slab out much easier. Greasing your spatula or your hands with a little butter before pressing the mixture into the pan stops it from sticking and keeps the surface smooth.
