
danish dough recipe


The Best danish dough recipe
What I love most about this Danish dough is how versatile it is. You can bake it plain, roll it up with fresh fruit and cream cheese, or even use it as a base for breakfast sandwiches. It’s not just for special occasions—it’s a daily staple that keeps the kitchen happy. Plus, the health benefits are pretty solid too. The whole wheat or rye versions add fiber, and the natural sugars from the fruit or honey give a gentle energy boost. It’s that kind of recipe that feels indulgent but isn’t all that bad for you. My family always says it’s the one thing that makes our home feel like home, and honestly? That’s enough to keep me baking it every chance I get.
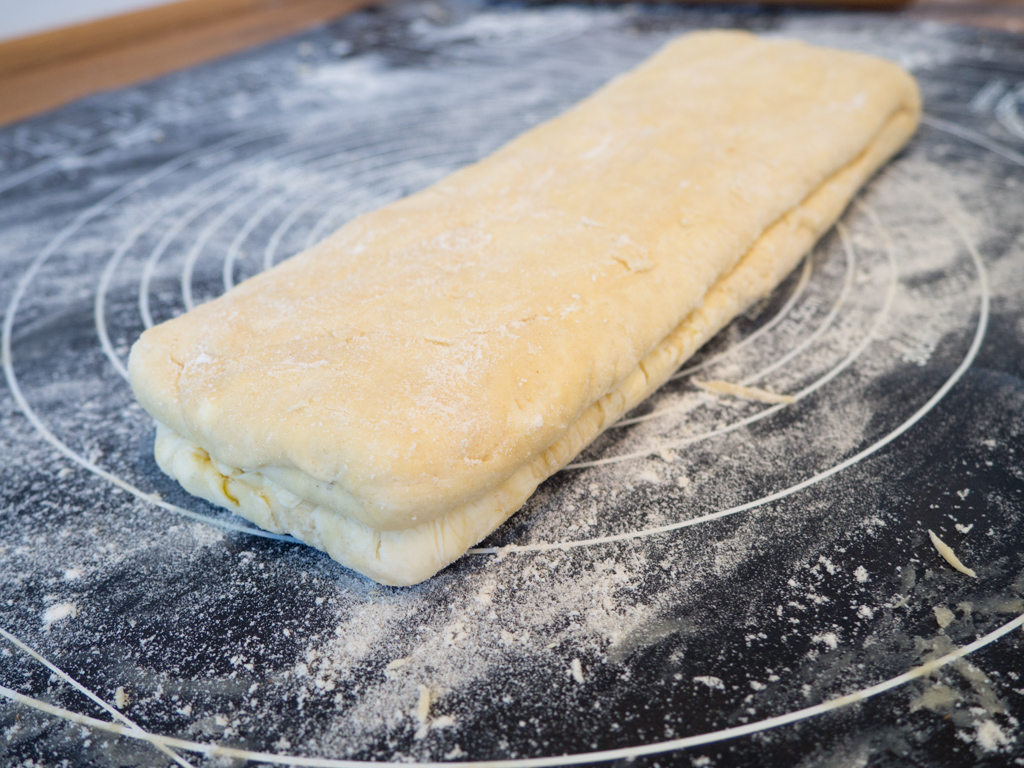
Classic Danish Dough Recipe
A flaky, buttery Danish pastry dough perfect for filling with sweet or savory fillings. This recipe yields a classic, layered dough ideal for pastries like Danishes, croissants, or strudels.
🥘Ingredients
- 2 ½ cups (300g) all-purpose flour
- 1 tsp salt
- 1 tbsp sugar
- 1 packet (2 ¼ tsp) active dry yeast
- 1 ¼ cups (300ml) warm milk (60°F/15°C)
- 6 tbsp (85g) unsalted butter, cold and cubed
- 2 large eggs, room temperature
- 1 tbsp lemon juice
- 1 cup (250g) whipped cream
- ½ cup (100g) powdered sugar
- 1 tsp vanilla extract
- 1 tbsp lemon zest (for citrus Danish)
👨🍳Directions
-
1
In a warm bowl, dissolve yeast and sugar in warm milk. Let sit for 5–10 minutes until frothy. -
2
In a large bowl, whisk flour and salt. Add yeast mixture, eggs, and lemon juice. Mix until combined. -
3
Cut cold butter into the flour mixture until pea-sized crumbs form. Gradually mix with a pastry cutter or dough hook until a shaggy dough forms. -
4
Turn dough onto a lightly floured surface, knead gently for 2–3 minutes until smooth. Cover and let rise in a warm place for 1 hour or until doubled. -
5
Punch down dough, then roll into a rectangle (about 12×18 inches). Place filling (e.g., whipped cream, jam, or savory mixture) in the center. -
6
Fold dough over the filling in thirds (like a letter), sealing edges with a pastry brush dipped in water. Roll out into a rectangle (8×12 inches). -
7
Cut into 8 equal triangles or squares. Place on parchment-lined baking sheets. Let rise for 30 minutes. -
8
Bake at 400°F (200°C) for 20–25 minutes until golden brown.
🔧Equipment
- Mixing bowls (2)
- Stand mixer or pastry cutter
- Rolling pin
- Plastic wrap
- Parchment paper
- Oven
- Pastry brush
📊Nutrition Facts (per serving)
📝Notes
Tips
- Ensure butter is cold to prevent melting during dough handling.
- For a flakier texture, chill dough for 30 minutes between folds.
- Substitute milk with almond milk for a lighter option.
- Add 1 tsp baking powder to the dough for a slightly crispier crust.
Variations
- Savory Danish: Use herbed cream cheese and smoked salmon.
- Sweet Danish: Add cinnamon sugar to the dough or top with fruit compote.
Watch Video Of How Classic Danish Dough Recipe Works
❓ Frequently Asked Questions About Danish Dough
1. What is the secret to achieving a perfect Danish dough texture?
The secret to a perfect Danish dough lies in a combination of techniques: slow fermentation (at least 4–6 hours at room temperature or overnight in the fridge) allows the gluten to relax and the yeast to develop flavor, while cooling the dough before baking prevents excessive browning. Additionally, using high-quality butter (preferably Danish-style) and a touch of sugar (about 1 tbsp) helps create a tender, pillowy crumb. Avoid overmixing, as this can make the dough tough.
—
2. Can I substitute butter for a lighter alternative in Danish dough?
Yes, you can use a partially lighter alternative, but keep in mind that Danish dough traditionally relies on butter for its rich, buttery flavor and tender texture. If substituting, try:
– Vegetable shortening (like Crisco) for a neutral taste (though it won’t mimic butter’s richness).
– Melted butter mixed with a little oil (e.g., 60% butter, 40% light olive or canola oil) for a slightly lighter result.
For the best outcome, stick to full-fat butter (about 80% fat content) for authentic flavor and structure.
—
3. How do I prevent the Danish from becoming dry or crumbly after baking?
Dry or crumbly Danish often happens due to overbaking or insufficient fat. To avoid this:
– Bake at the correct temperature (350°F/175°C for 20–25 minutes) and rotate the pan halfway for even cooking.
– Brush with a thin layer of egg wash (or melted butter) before baking to add moisture.
– Use a generous amount of butter (about 1/3 cup per 2 cups flour) and avoid overworking the dough.
– Let the Danish cool slightly before slicing—cutting too soon can release steam, making it dry.
—
4. Why does my Danish dough sometimes turn out dense instead of fluffy?
Dense Danish can result from:
– Overproofing the dough (fermenting too long or at warm temperatures) weakens gluten and makes the dough heavy.
– Not enough yeast (use 1–1.5 tsp active dry yeast per 2 cups flour, or 1 packet).
– Poorly chilled dough (if using refrigerated dough, let it sit at room temp for 30–60 minutes before shaping).
– Incorrect baking method—ensure the oven is preheated properly and the dough is shaped tightly before baking.
—
5. Can I make Danish dough ahead of time and freeze it?
Yes, you can freeze Danish dough for up to 3 months—here’s how:
– Shape and chill the dough for at least 2 hours (or overnight) before freezing.
– Wrap tightly in plastic wrap, then place in a freezer bag, removing as much air as possible.
– Bake directly from frozen by adding 5–10 extra minutes to the baking time (check at 15 minutes in).
– Thaw overnight in the fridge before slicing to avoid a dry texture.
Note: Freezing may slightly alter texture, but the flavor remains excellent. For best results, bake fresh if possible.

