
gluten free peanut butter cookies recipe


The Best gluten free peanut butter cookies recipe
I started making gluten free peanut butter cookies because I needed something I could bring to school events and family dinners that everyone would actually eat. They take about 15 minutes of hands on work and use ingredients I already keep in my pantry. My kids ask for them by name, and my husband, who does not need to eat gluten free, grabs them off the cooling rack before I can get them into the container.
The texture is the reason I keep making this recipe. The cookies bake up crisp at the edges with a soft center, and they hold together without the dry, sandy crumb that turns people off gluten free baking. Peanut butter does most of the work here, adding enough fat and structure that the dough does not need a complicated flour blend.
These cookies show up at our house for weeknight dessert, in lunchboxes, at bake sales, and on holiday trays. Peanut butter adds protein and healthy fats, and the cookies are not overly sweet, so they work as an everyday snack just as well as a treat. Keep them in a sealed container and they stay fresh for several days.
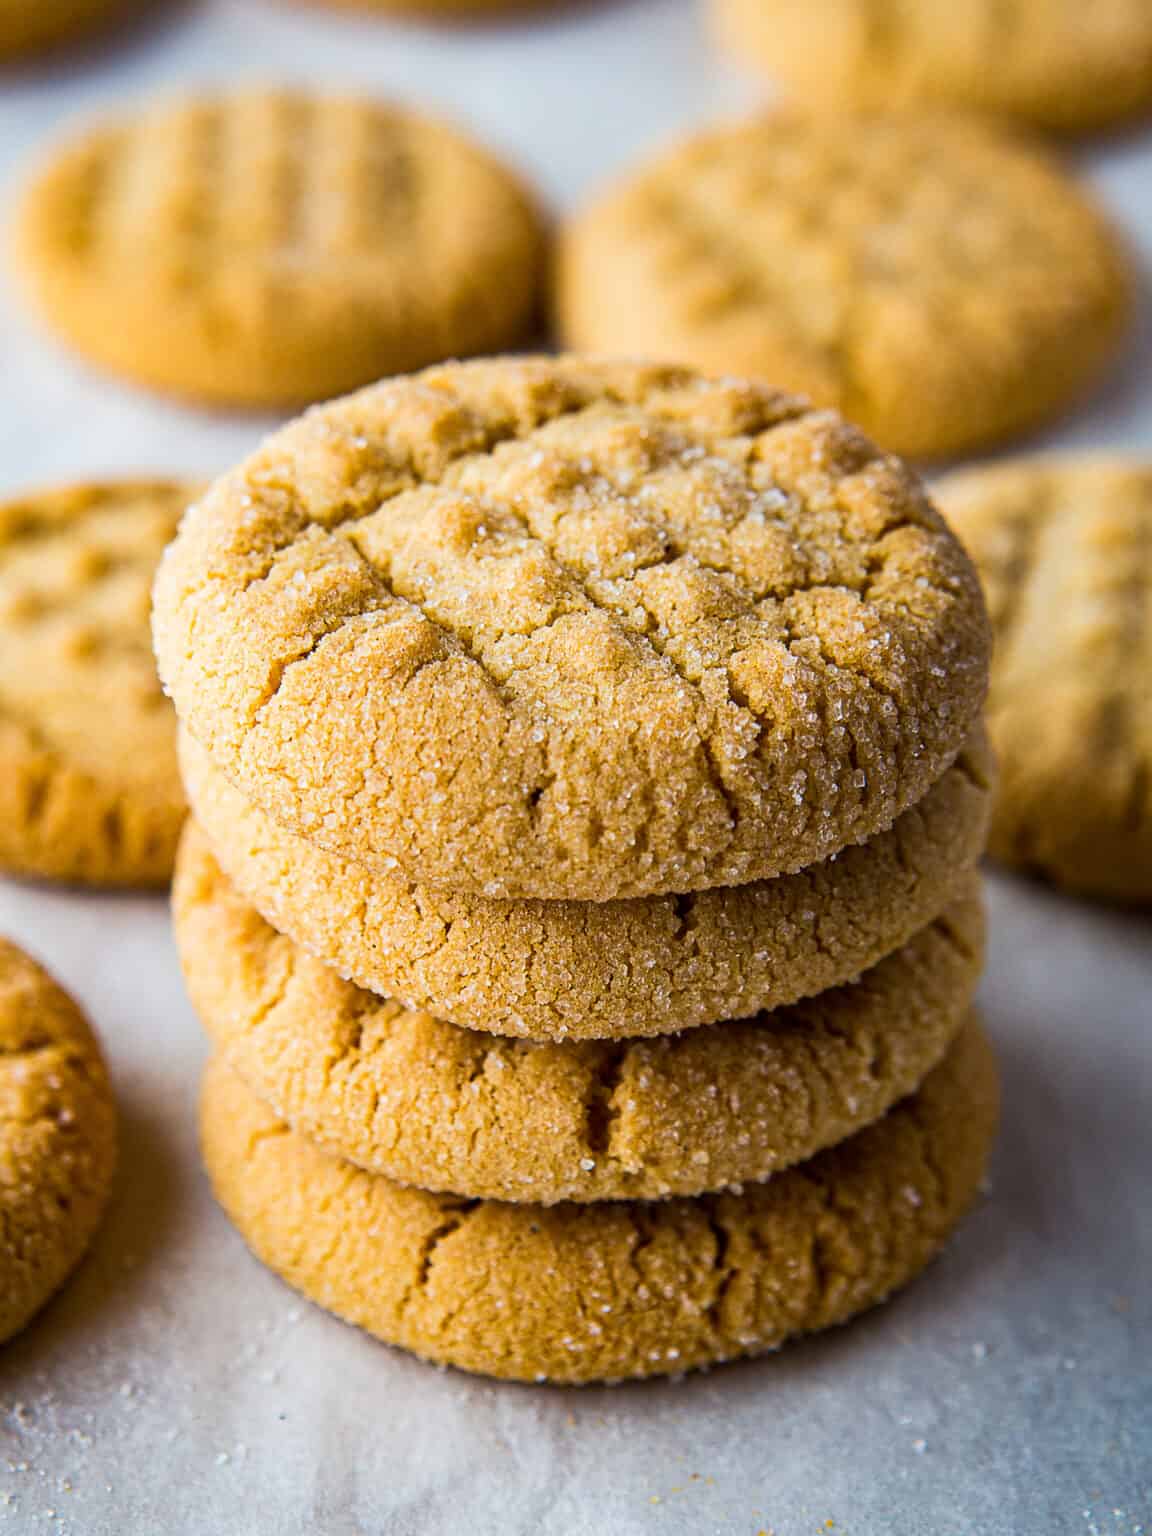
Gluten Free Peanut Butter Cookies
These flourless peanut butter cookies come together in one bowl with just a handful of pantry staples. The fork-pressed tops bake up crisp at the edges with a soft, chewy center and a deep roasted peanut flavor.
🥘Ingredients
For the Cookies
For Rolling
👨🍳Directions
🔧Equipment
📊Nutrition Facts (per serving)
📝Notes
Watch Video Of How Gluten Free Peanut Butter Cookies Works
I keep this recipe on hand because it fits just about any occasion, whether it is a quick weeknight treat or a plate to pass around at a family gathering. Everyone at the table can enjoy them, and they hold up well on a cookie tray next to everything else. Make a batch and you will see how fast they disappear.
❓ Frequently Asked Questions About Gluten Free Peanut Butter Cookies
1. Can I use natural peanut butter instead of a conventional brand?
Yes, but stir it thoroughly first. Natural peanut butter separates, and the drier, unmixed portion at the bottom of the jar can make the dough crumbly. Use a creamy style rather than crunchy for a more even texture, and if the dough feels stiff or oily after mixing, chill it for 20 to 30 minutes before scooping.
2. Why did my cookies spread out flat in the oven?
Warm dough is the usual culprit. Butter or peanut butter that has softened too much, or a baking sheet that went into the oven still warm from a previous batch, lets the cookies slump before they set. Chill the dough for at least 30 minutes, scoop onto a cool sheet, and leave a couple of inches between each mound. A brief chill on the shaped dough balls helps too.
3. How do I make sure the cookies are actually gluten free?
Read every label, since gluten can hide in flavorings, extracts, baking powders, and chocolate chips used for a drizzle or mix-in. Look for a gluten-free statement on the package rather than relying on the ingredient list alone, and use a clean bowl, whisk, and baking sheet that haven’t recently handled wheat flour. If you bake both regular and gluten-free batches, scoop the gluten-free dough first.
4. How should I store them, and how long do they keep?
Let the cookies cool completely, then store them in an airtight container at room temperature for about three to five days. Add a slice of bread or a small piece of parchment between layers if you want them to stay soft. For longer storage, freeze the baked cookies in a single layer, then transfer to a freezer bag for up to two months and thaw at room temperature.
5. Can I freeze the dough instead of baking it all at once?
Yes, and it’s the easier route. Scoop the dough into balls, freeze them on a parchment-lined sheet until firm, then move them into a freezer bag. Bake from frozen, adding two to three minutes to the usual time and pressing each ball with a fork before it goes in. Most batches bake in the 10- to 12-minute range at 350°F, so watch for golden edges rather than relying on the clock alone.


