
peanut butter bar recipe


The Best peanut butter bar recipe
Peanut butter bars are a family favorite in my household. This recipe has been passed down through generations and is always a hit at family gatherings. The combination of peanut butter, oats, and chocolate creates a rich, sweet, and satisfying treat that everyone loves.
It is perfect for a quick snack or as a dessert after a meal. The key to making these bars is to ensure that the peanut butter is well-mixed and that the oats are evenly distributed. This ensures a consistent texture and flavor throughout the bars.
In addition to being delicious, peanut butter bars also offer several health benefits. Peanuts are a good source of protein and healthy fats, which help keep you full and energized. They also contain fiber, which aids in digestion and helps maintain a healthy weight.
Overall, peanut butter bars are a versatile and nutritious treat that can be enjoyed at any time of day. I often make a large batch and store them in the fridge for quick access. My kids love them as a post-school snack and my husband enjoys them with his morning coffee.
It is a perfect treat for any occasion, from a family picnic to a movie night at home. The bars are easy to make and can be customized with additional ingredients such as nuts or dried fruit. The possibilities are endless, and I am always excited to try new variations.
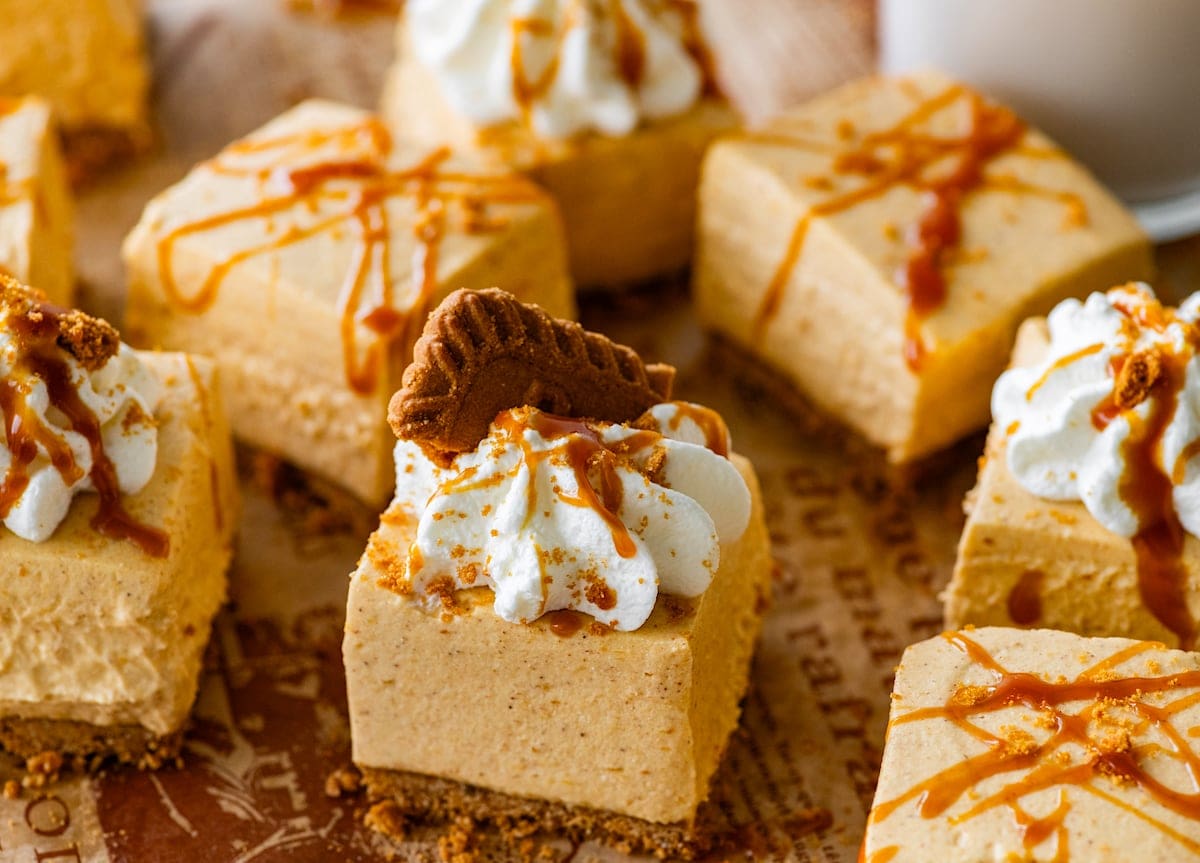
Classic Peanut Butter Bars
These peanut butter bars are a classic treat that combines the rich flavor of peanut butter with a sweet and crumbly texture. Perfect for a snack or dessert, these bars are easy to make and always a crowd-pleaser.
🥘Ingredients
For the Crust
For the Filling
👨🍳Directions
🔧Equipment
📊Nutrition Facts (per serving)
📝Notes
Peanut butter bars are a versatile and delicious treat that can be enjoyed at any time of day. They are perfect for family gatherings, potlucks, or as a quick snack. I love making a big batch and storing them in the fridge for easy access.
My family enjoys them for breakfast or as an afternoon snack. These bars are always a hit with kids and adults alike. You can easily customize them with different mix-ins to suit your preferences.
Whether you prefer a classic peanut butter bar or something with a twist, this recipe is a great option. The combination of a crumbly crust and a rich, creamy filling makes these bars irresistible. I recommend trying this recipe and making it a staple in your home.
❓ Frequently Asked Questions About Peanut Butter Bars
Can I use crunchy peanut butter instead of creamy peanut butter?
Yes, you can use crunchy peanut butter in this recipe. It will add a nice texture to the bars. However, keep in mind that the texture might be slightly different from the smooth and creamy version. If you prefer a smoother bar, it is best to stick with creamy peanut butter.
Can I make these bars gluten-free?
Yes, you can make these bars gluten-free by substituting the all-purpose flour with a gluten-free flour blend. Make sure to use a blend that is suitable for baking. You may need to adjust the liquid content slightly to achieve the right consistency. Additionally, ensure that all other ingredients, such as oats and chocolate chips, are certified gluten-free.
How should I store these peanut butter bars?
Store the peanut butter bars in an airtight container at room temperature for up to 5 days, or in the refrigerator for up to 1 week. If you prefer a firmer texture, you can refrigerate them. They can also be frozen for up to 3 months. When ready to serve, thaw them in the refrigerator overnight.
Can I add other mix-ins to the filling?
Yes, you can customize the filling with various mix-ins. Some popular options include chocolate chips, dried fruit, nuts, or even pretzels for a sweet and salty combination. Add your desired mix-ins to the filling before spreading it over the crust.
Can I make these bars without an oven?
While the oven is essential for baking the crust, you can try a no-bake version by using a different method for the crust. For example, you can make a no-bake crust using a combination of graham cracker crumbs, butter, and sugar. Melt the ingredients together and press into a baking dish. Chill the crust in the refrigerator until firm, then proceed with the filling as instructed. Keep in mind that the texture and taste might differ slightly from the baked version.
