
whole wheat pita bread recipe


The Best whole wheat pita bread recipe
I make this whole wheat pita bread almost every week, and it took me a while to get a version I actually wanted to repeat. The dough comes together with flour, water, yeast, salt, and a little oil, so there is nothing fancy to buy and nothing to plan days ahead for. Start to finish it takes about two hours, most of that hands off while the dough rises. The part I still get a kick out of is watching the rounds puff up in the oven like little balloons. Once you see that, you know the pockets worked.
My kids eat these faster than I can bake them. They tear pieces off while the bread is still warm and dip them in hummus, or I cut them in half and stuff them with turkey and cheese for lunches. My husband piles his with leftovers from dinner the night before. I usually freeze half the batch and pull them out as needed, which makes the effort feel smaller on busy weeknights. They hold up well enough to pack in a lunch bag without turning into a crumbly mess by noon.
Whole wheat flour gives these pita a nutty flavor and a bit more fiber than the white flour version, so they keep me full longer than most store bought bread. I like that I know exactly what went into them and that there are no mystery ingredients to read through on a label. They work just as well for a regular Tuesday dinner as they do for a party where I set out bowls of dip and let people help themselves. If you have been buying pita at the store, this is a good place to try making your own.
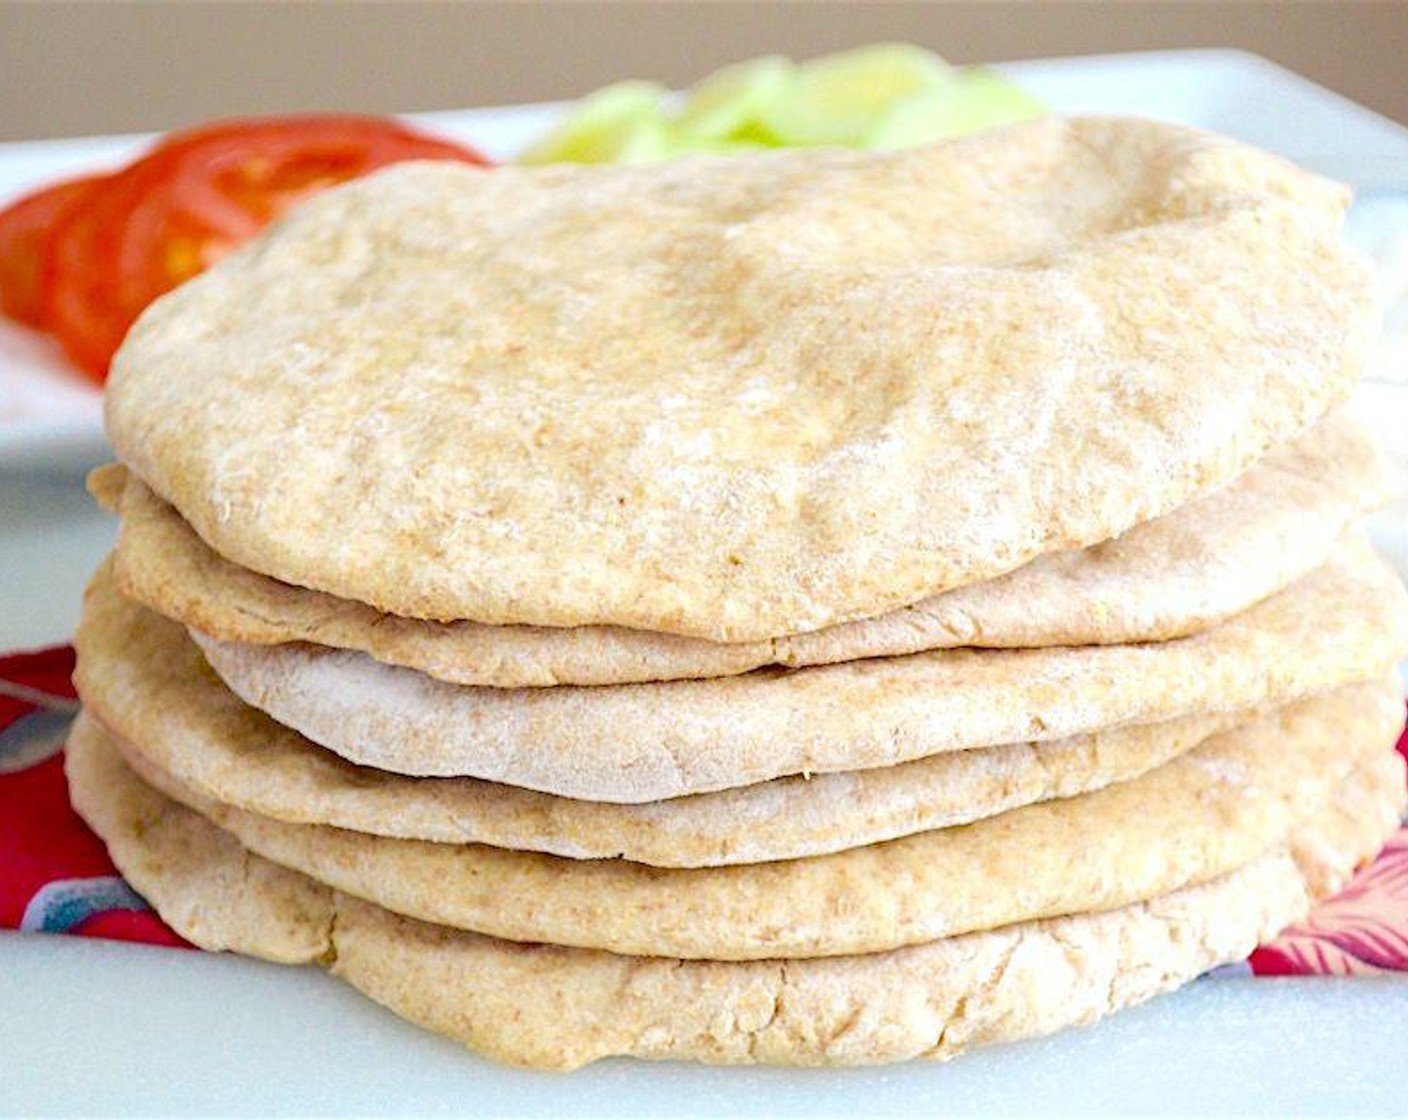
Whole Wheat Pita Bread
Soft, pillowy whole wheat pita breads that puff into a hollow pocket right in a hot oven. Made with pantry staples and a short rise, they are ready to fill with anything from falafel to grilled vegetables.
🥘Ingredients
For the Dough
For Rolling and Baking
👨🍳Directions
🔧Equipment
📊Nutrition Facts (per serving)
📝Notes
Watch Video Of How Whole Wheat Pita Bread Works
This whole wheat pita bread recipe earns a permanent spot in my rotation because it comes together with pantry staples and puffs up beautifully every time. I bring it to family gatherings and casual weeknight dinners alike since it works as a side, a scoop, or a sandwich wrap, and everyone at the table finds a way to use it. Once you bake a batch yourself, you will likely stop buying the packaged version altogether.
❓ Frequently Asked Questions About Whole Wheat Pita Bread
1. Why didn’t my pita puff up?
No pocket almost always means the dough was too dry, the oven was not hot enough, or the rounds sat too long before baking. Pita needs a very hot oven and a preheated surface so the outside sets fast and traps the steam inside. Roll each round to an even thickness, about 1/4 inch, and slide it into the oven while the dough is still lively. If the edges are thinner than the center, steam escapes there instead of inflating the middle.
2. Can I swap all-purpose flour for the whole wheat?
You can, and the bread will puff easily, but you’ll lose the nutty flavor and the fiber. For a lighter loaf that still tastes whole grain, try replacing half the whole wheat with all-purpose flour. Keep in mind that whole wheat absorbs more water than white flour, so if you make the swap, hold back a few tablespoons of liquid and add it only if the dough feels stiff.
3. How do I keep the pitas soft instead of brittle?
Cool them under a clean kitchen towel the moment they come out of the oven. Stacking the hot bread traps steam, which keeps each round pliable rather than crisp. Once they are completely cool, store them in a zip-top bag at room temperature and they’ll stay soft for a couple of days. Reheat briefly in a dry skillet or a warm oven to bring back that fresh-baked flexibility.
4. Can I make the dough ahead of time or freeze the baked pitas?
Yes to both. Mix and knead the dough, then let it rise slowly in the refrigerator overnight for a deeper flavor, bringing it to room temperature before shaping. Baked pitas freeze well for up to two months: cool them fully, slip a sheet of parchment between the rounds, and seal them in a freezer bag. Thaw at room temperature or warm them straight from frozen in a 350°F oven for a few minutes.
5. Do I need a baking stone or a special pan?
A baking stone or a heavy sheet pan preheated in the oven gives you the most reliable puff, but it isn’t mandatory. A thick, dark baking sheet or a cast-iron skillet works well if you let it heat for at least 15 minutes before the first batch. Bake in small batches so the oven door stays closed and the temperature doesn’t drop, and give the surface a few minutes to recover between rounds.

